Categories
Content shaping
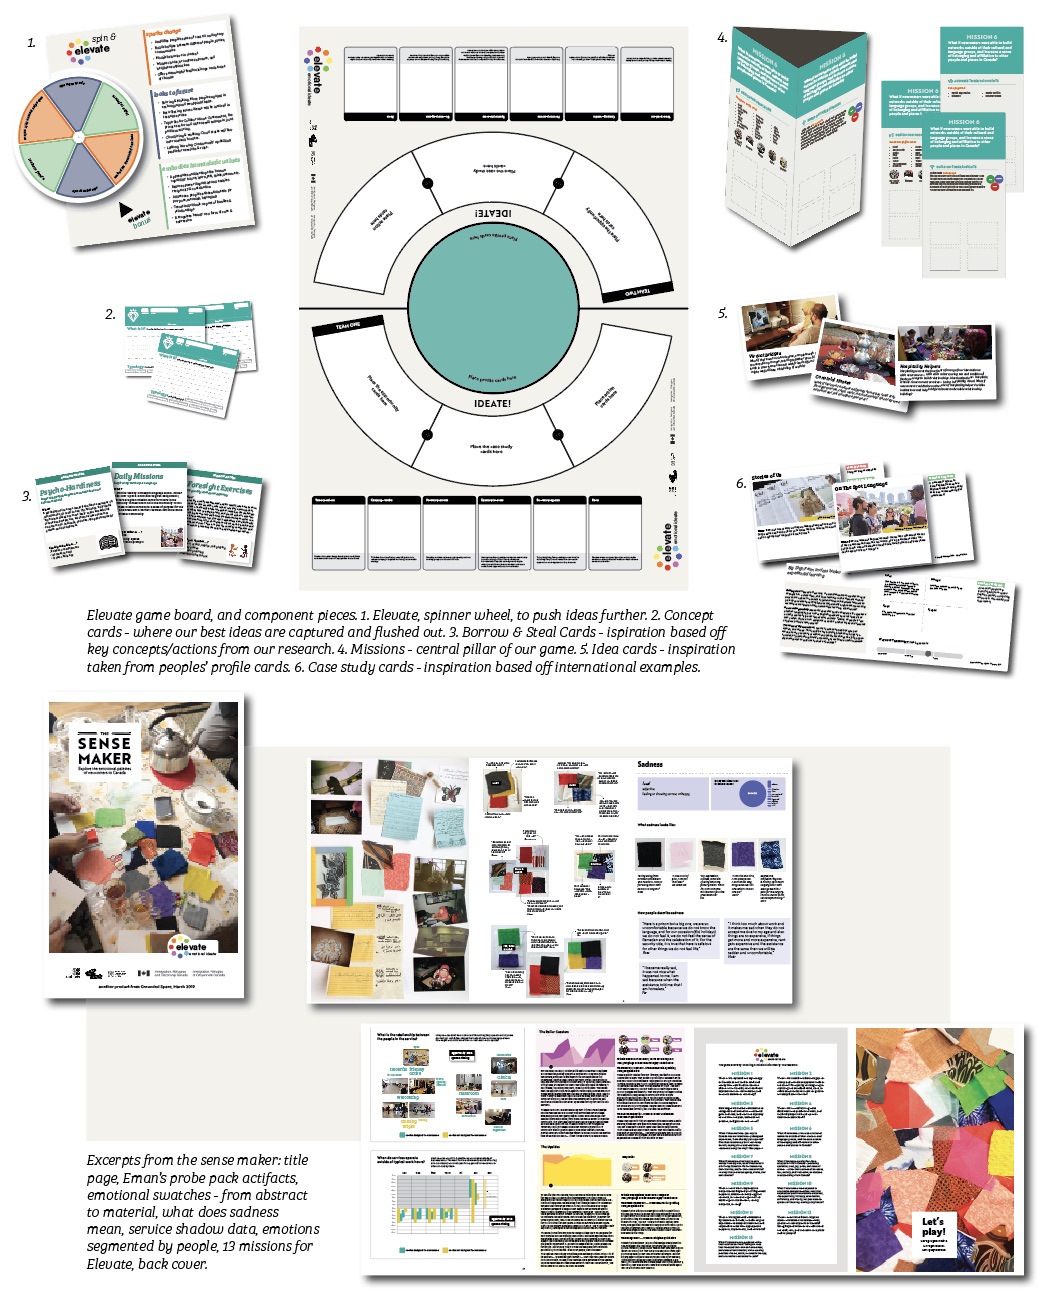
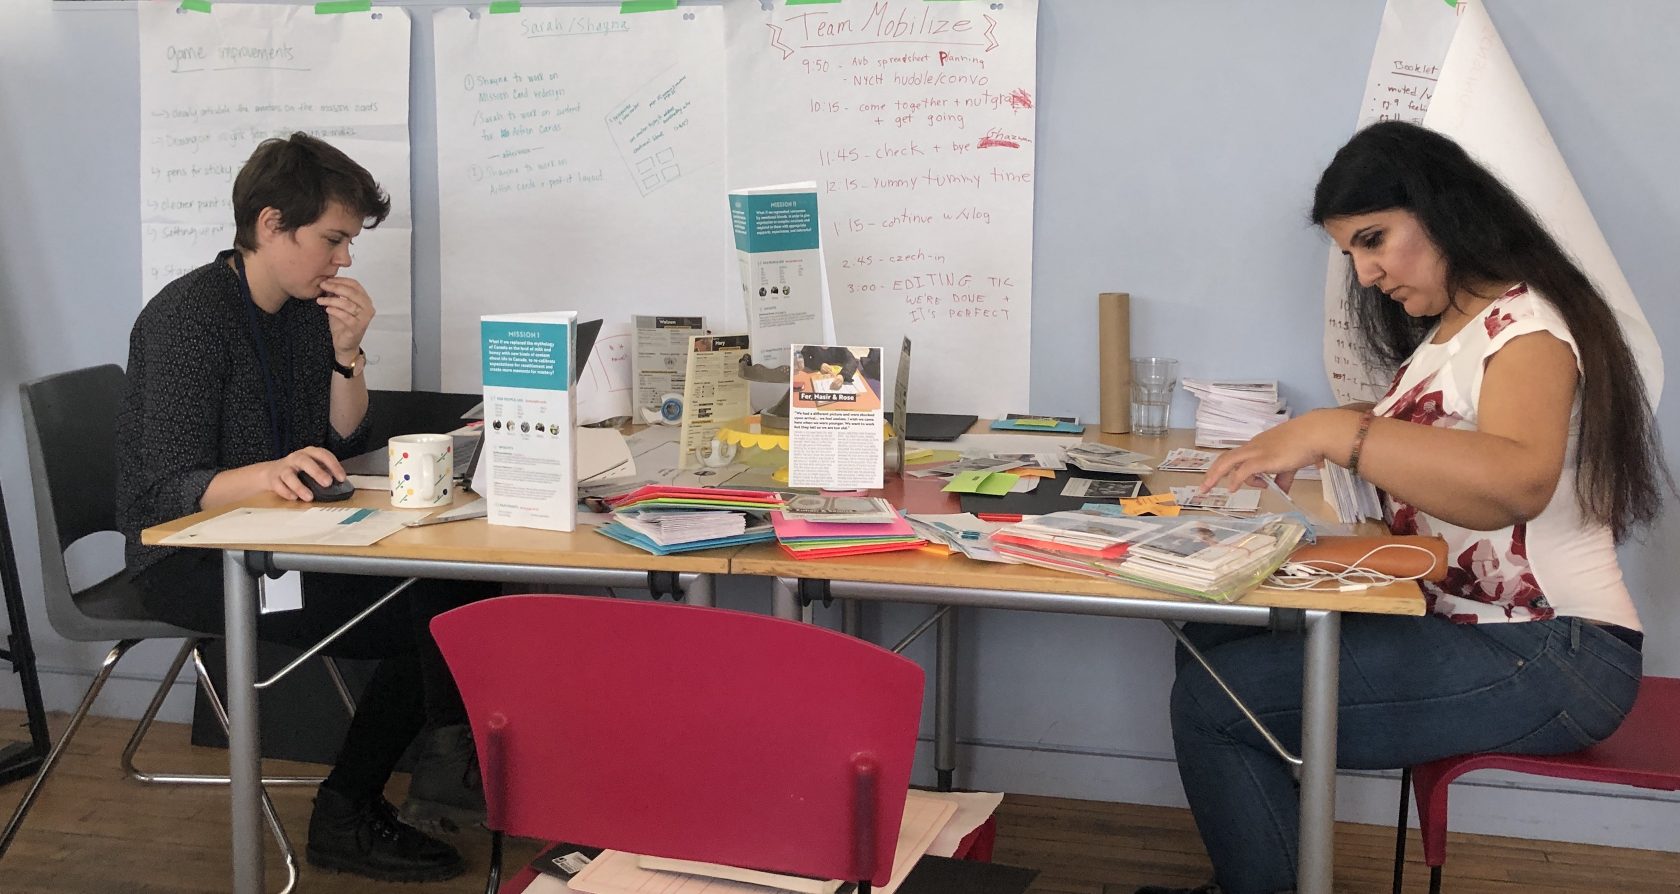
The purpose of making a game like Elevate was to format our research content in a way that made it possible to come up with fresh ideas for newcomer emotional supports. We had heaps of content, which meant toggling back and forth between writing and developing design templates to capture our four research streams:
- ethnographies & emotion journey maps
- local service shadowing
- international case studies
- expert interviews and academic literature reviews
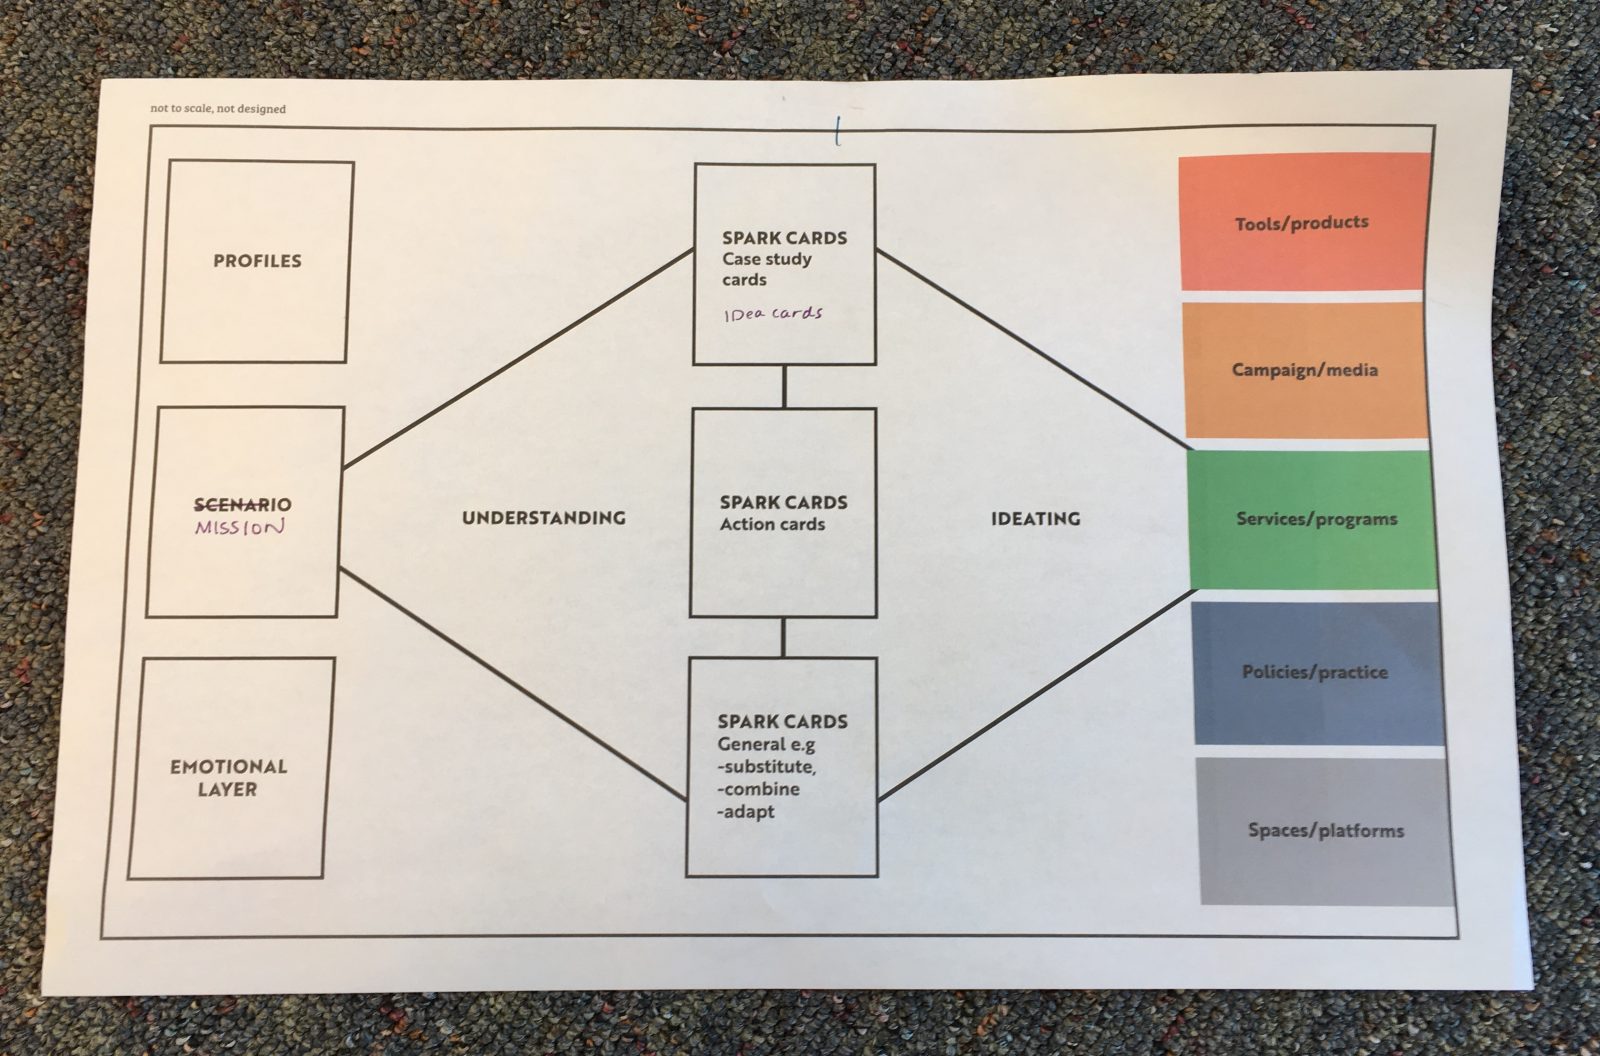
We pulled out the key insights, and ended up with four different products:
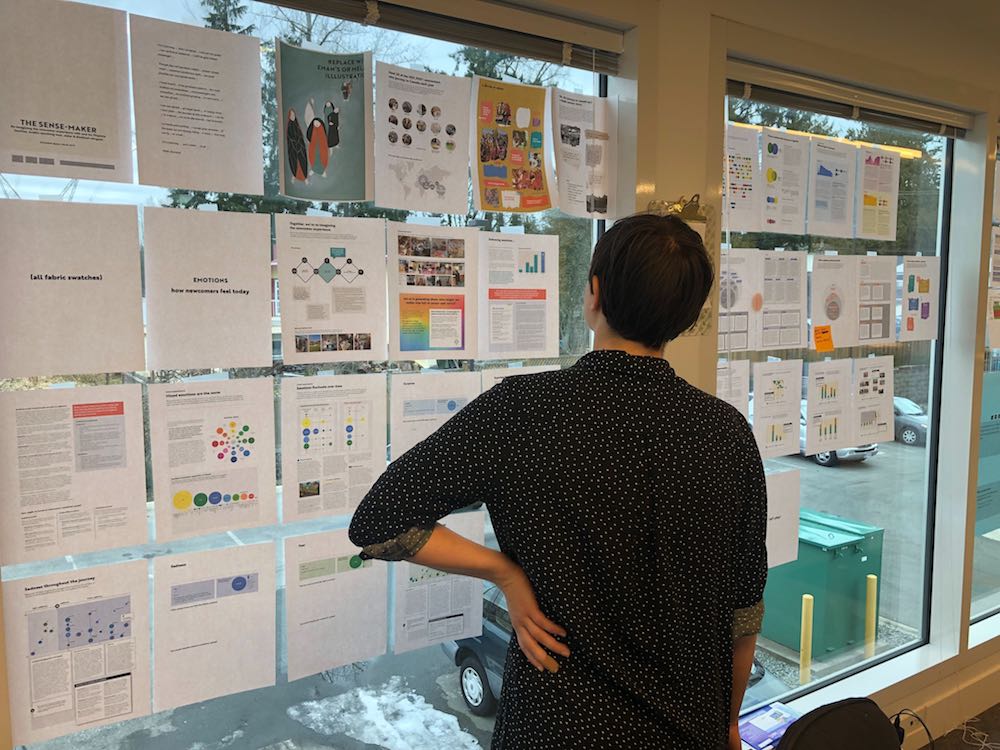
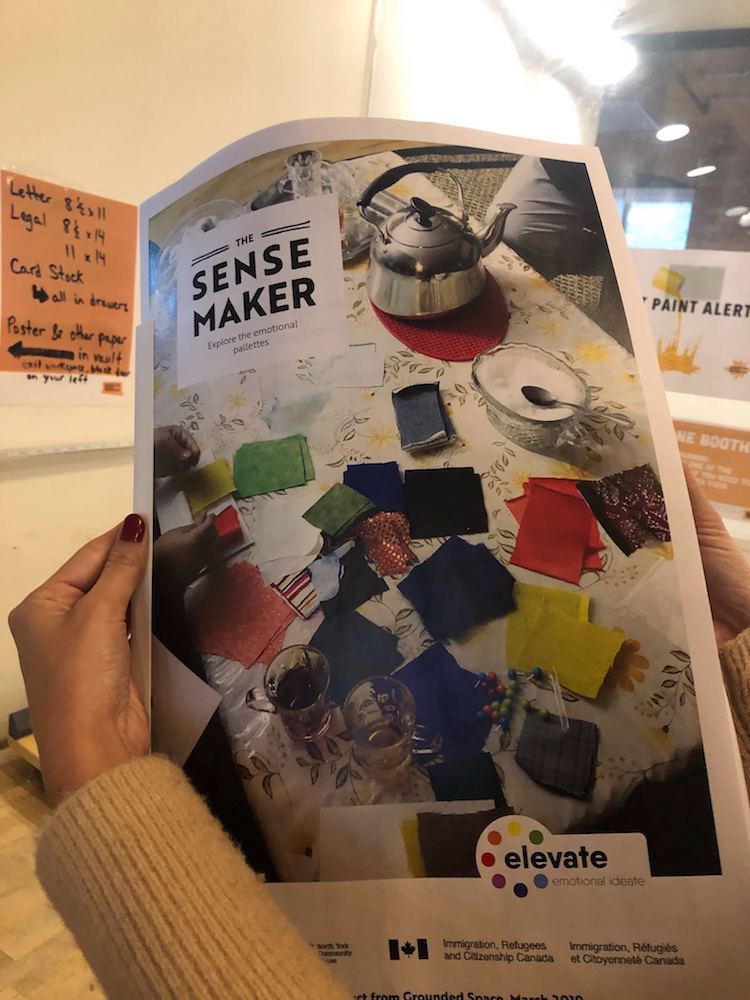
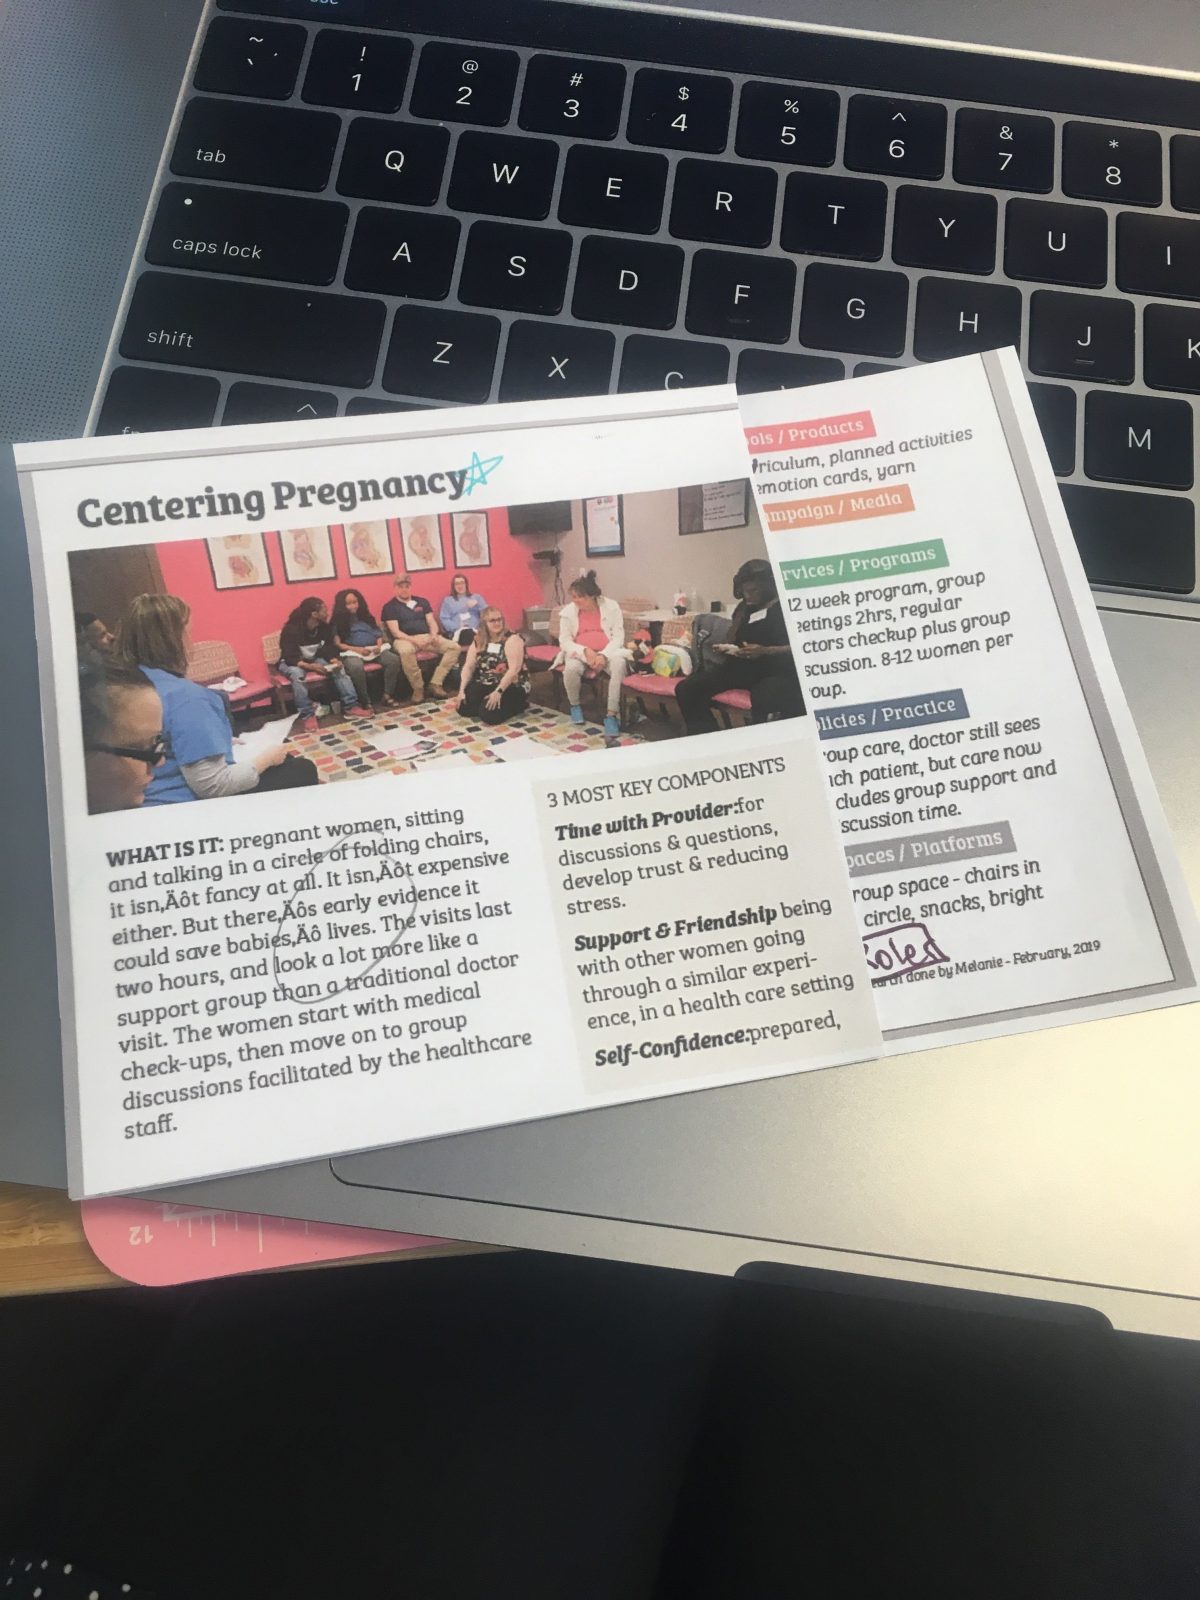
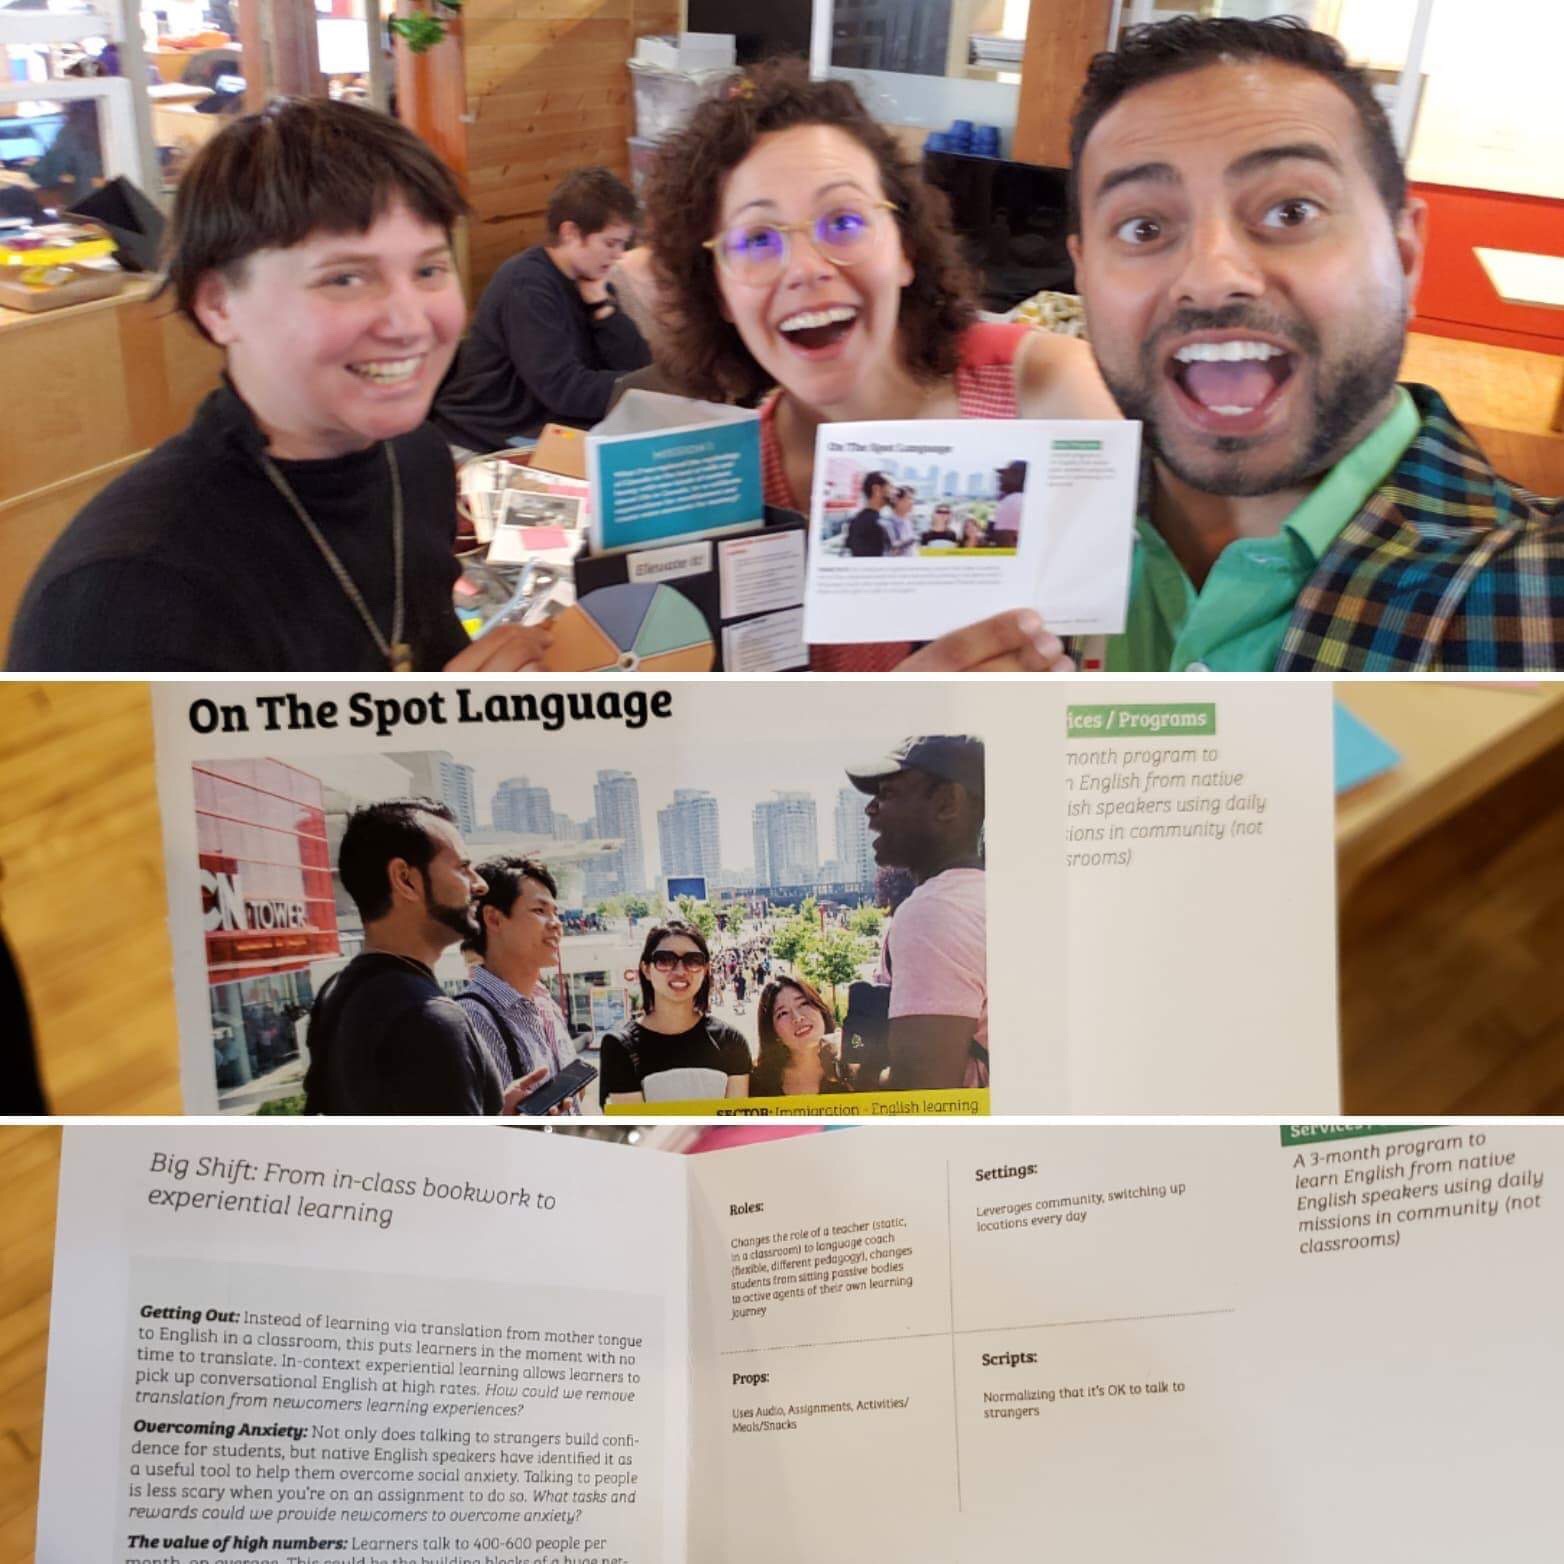
- The Sense Maker – a 44-page document of our synthesized research
- 13 Missions – the central pillar of our game alongside people profile cards
- 20 Case Study cards
- 20 Borrow & Steal cards
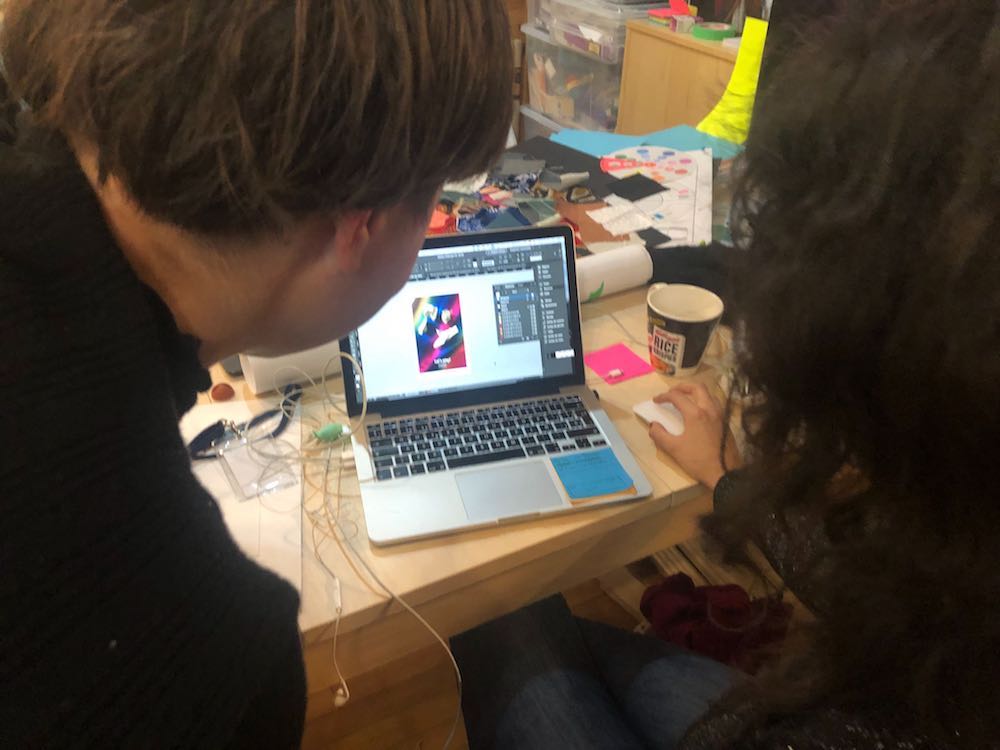
Part of the design process was making all of this rich information usable and accessible to a new audience. We went from being out in context with people, to compiling information, to sense making, to google docs, to early design templates, to google sheets, back into in-design layouts. We tweaked, nudged, test printed, gave feedback on content, gave feedback on design layouts, played the game, and iterated again…
Now we are in a place where the cards, missions and sense maker function well with the game, but also work as stand alone pieces. There has even been talk about writing up some new case studies to keep our inspiration fresh. Just like you might add more cards into Trivial Pursuit.
So if you hear of anything exciting or innovative from another sector send a link our way. We will continue to add to our case study database.
Testing by playing
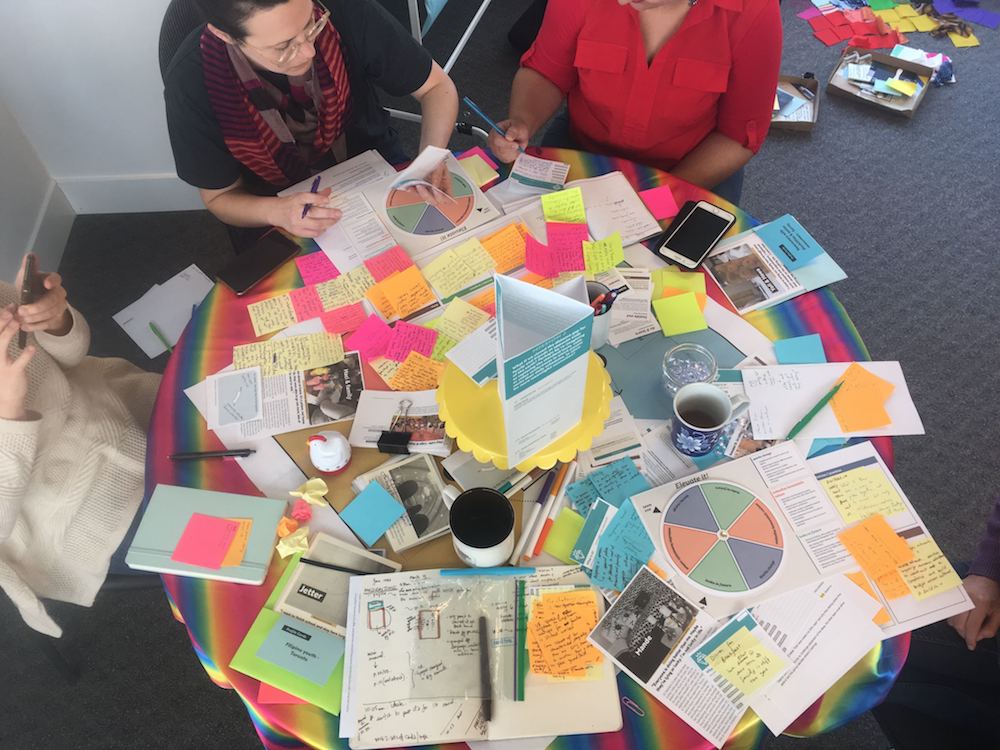
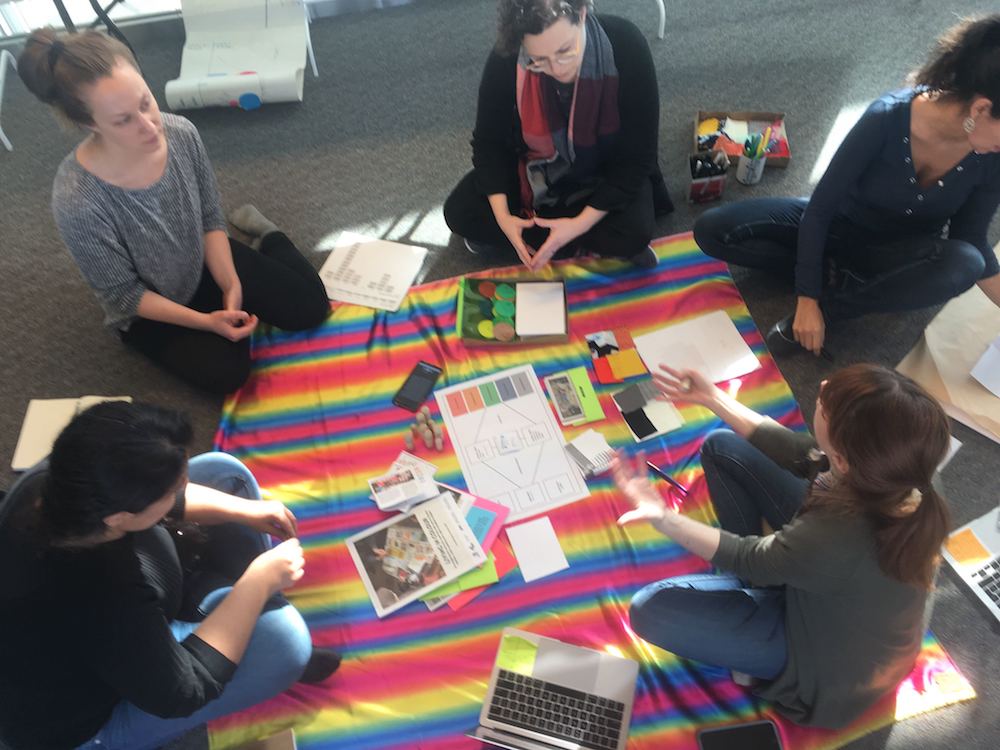
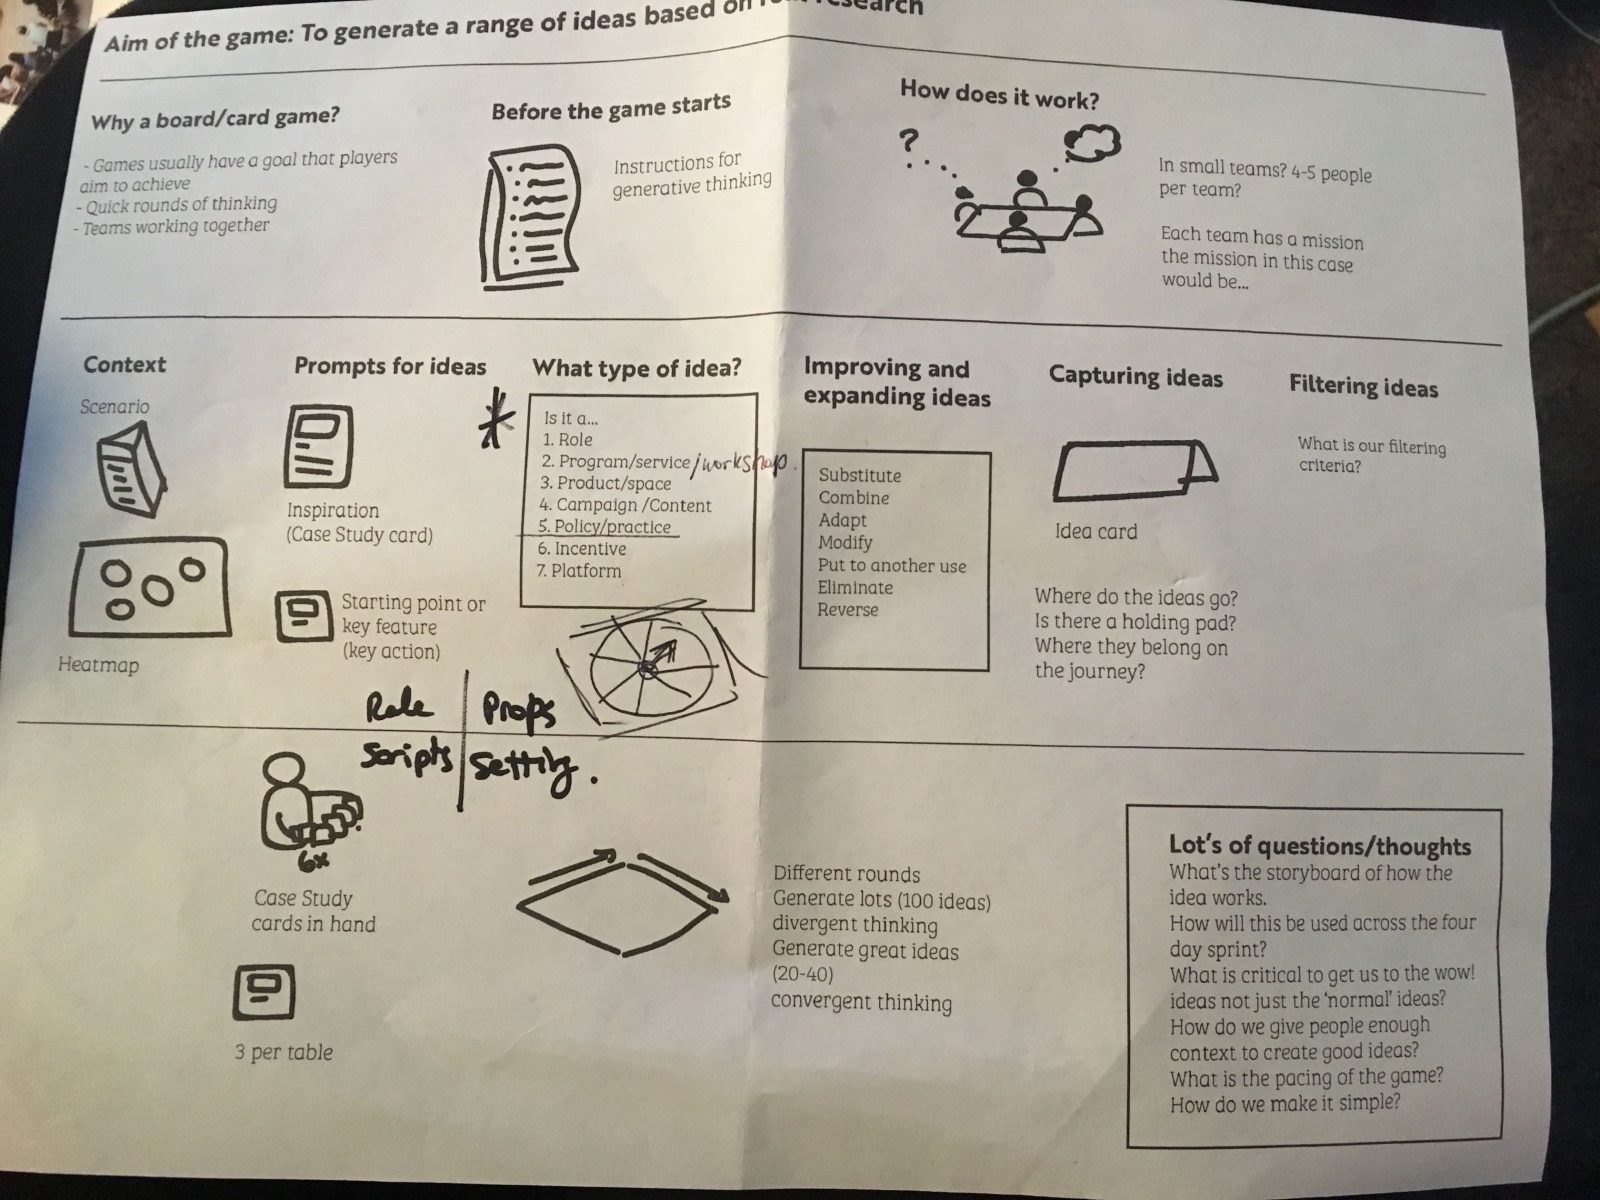
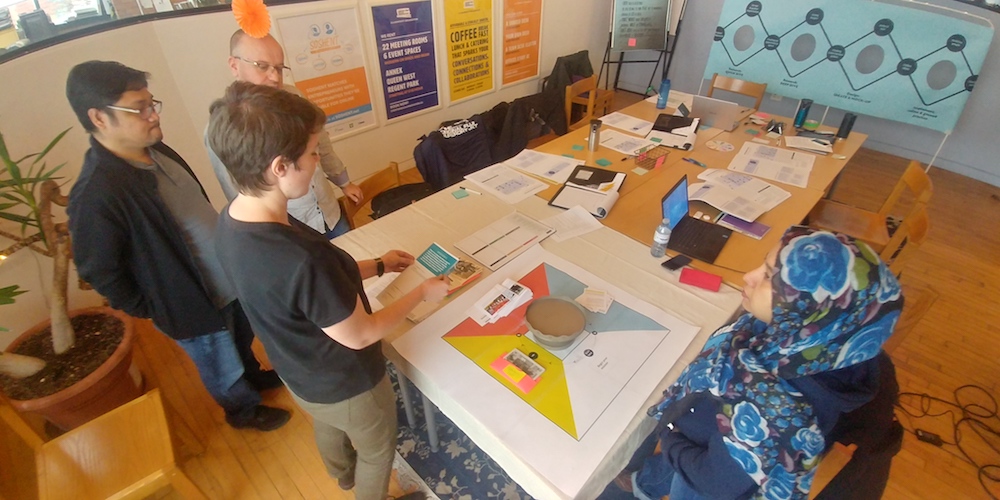
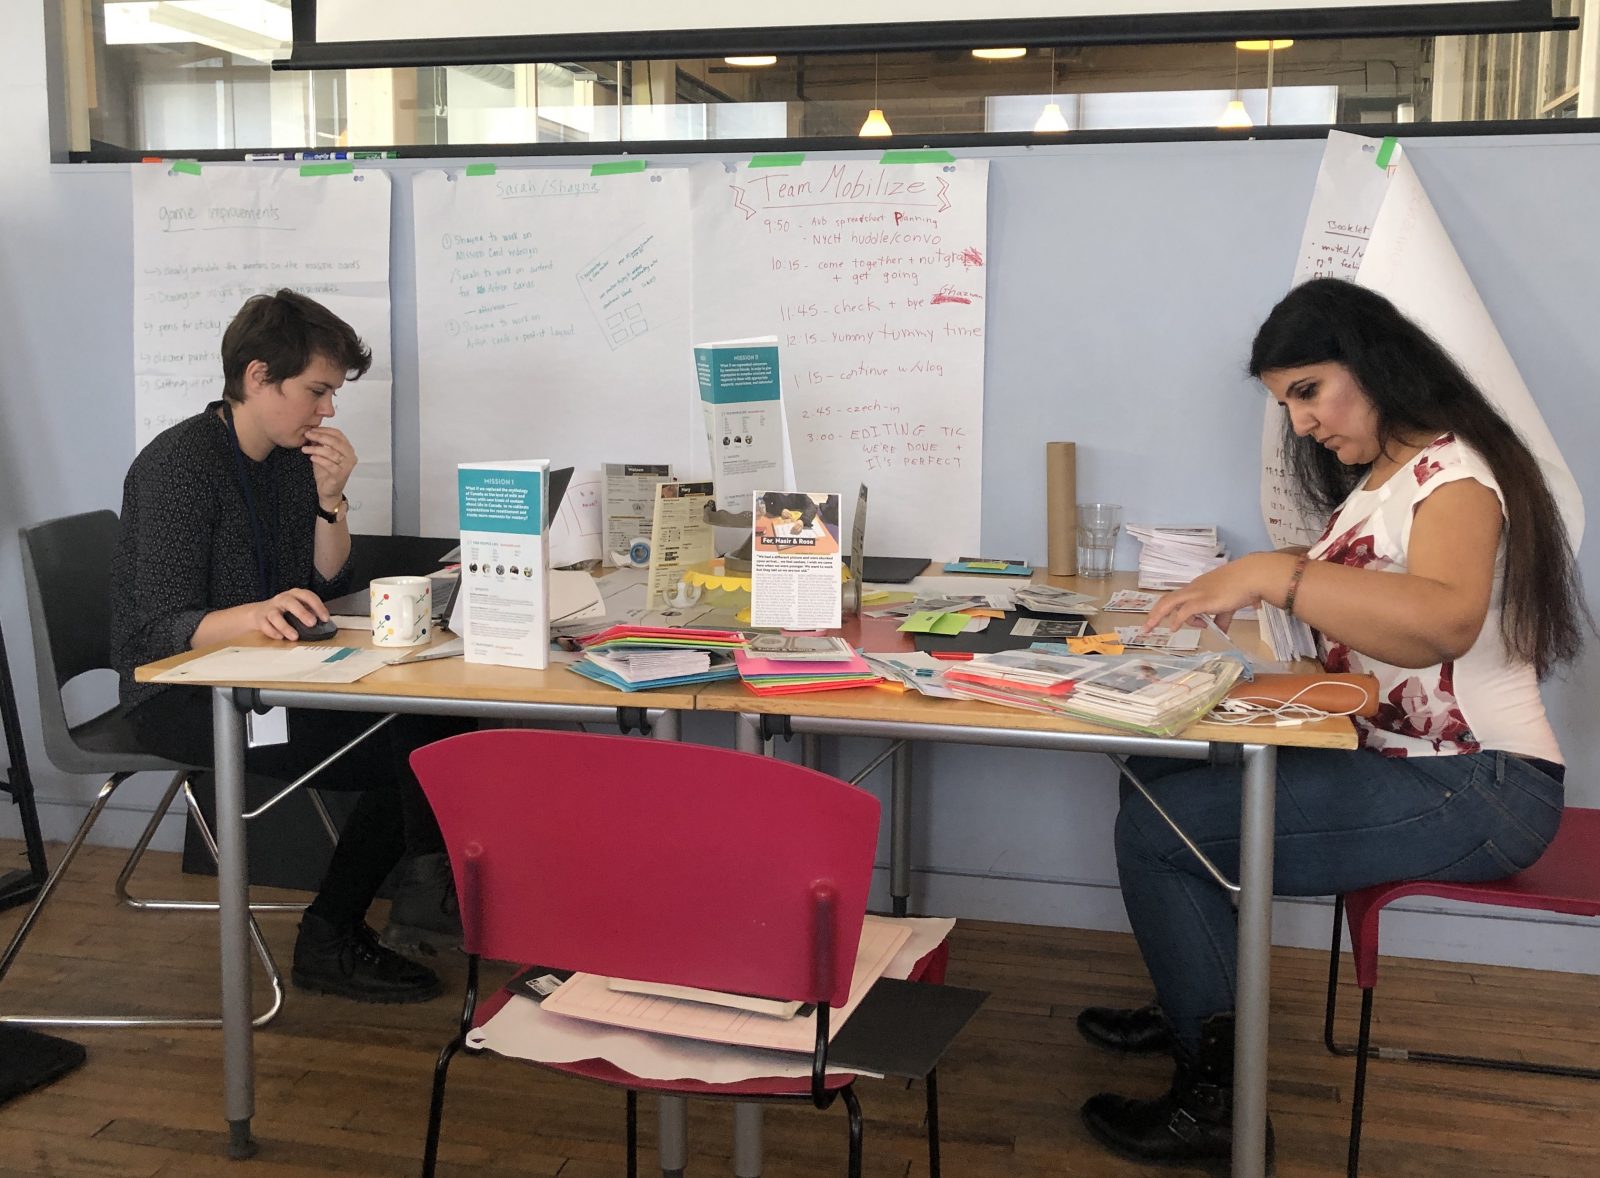
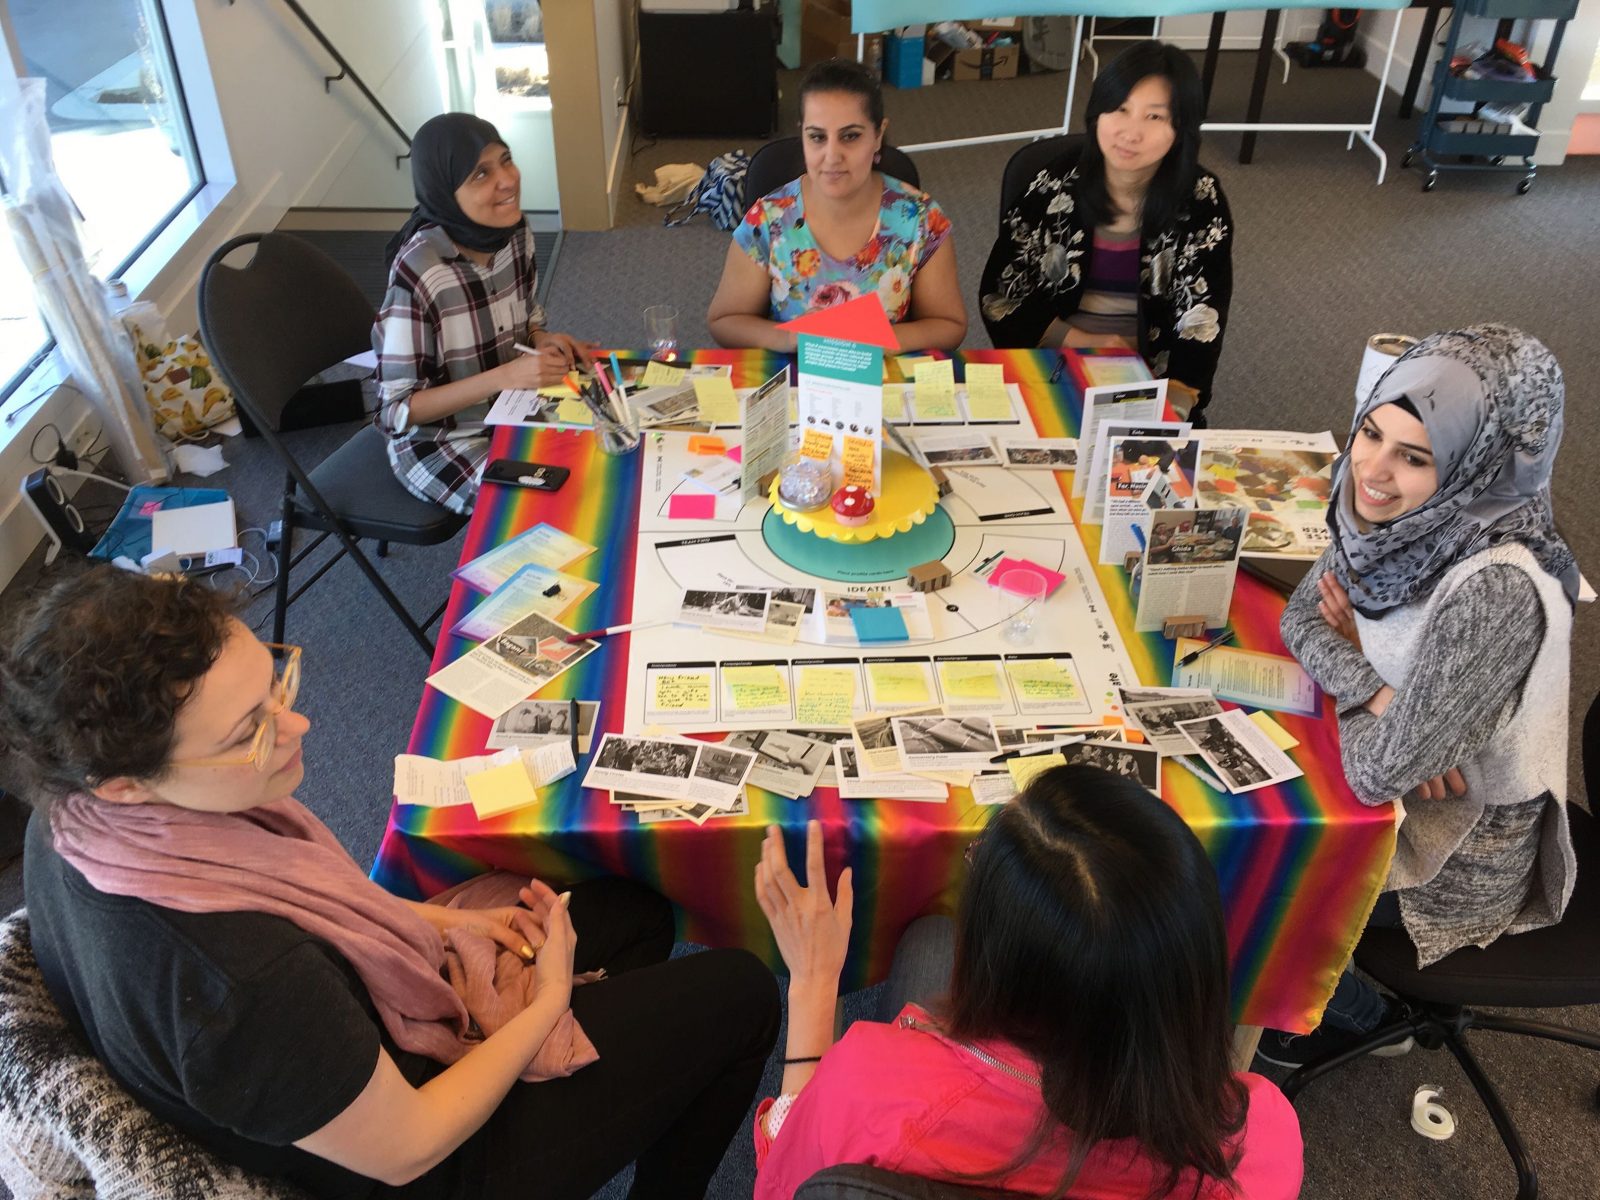
Along the way, we tested the game to ensure we had a set of steps and instructions that made sense. Turns out, logic isn’t always our strong suit as a team! We played it at varying stages of completion, and at two sites: Surrey & Toronto.
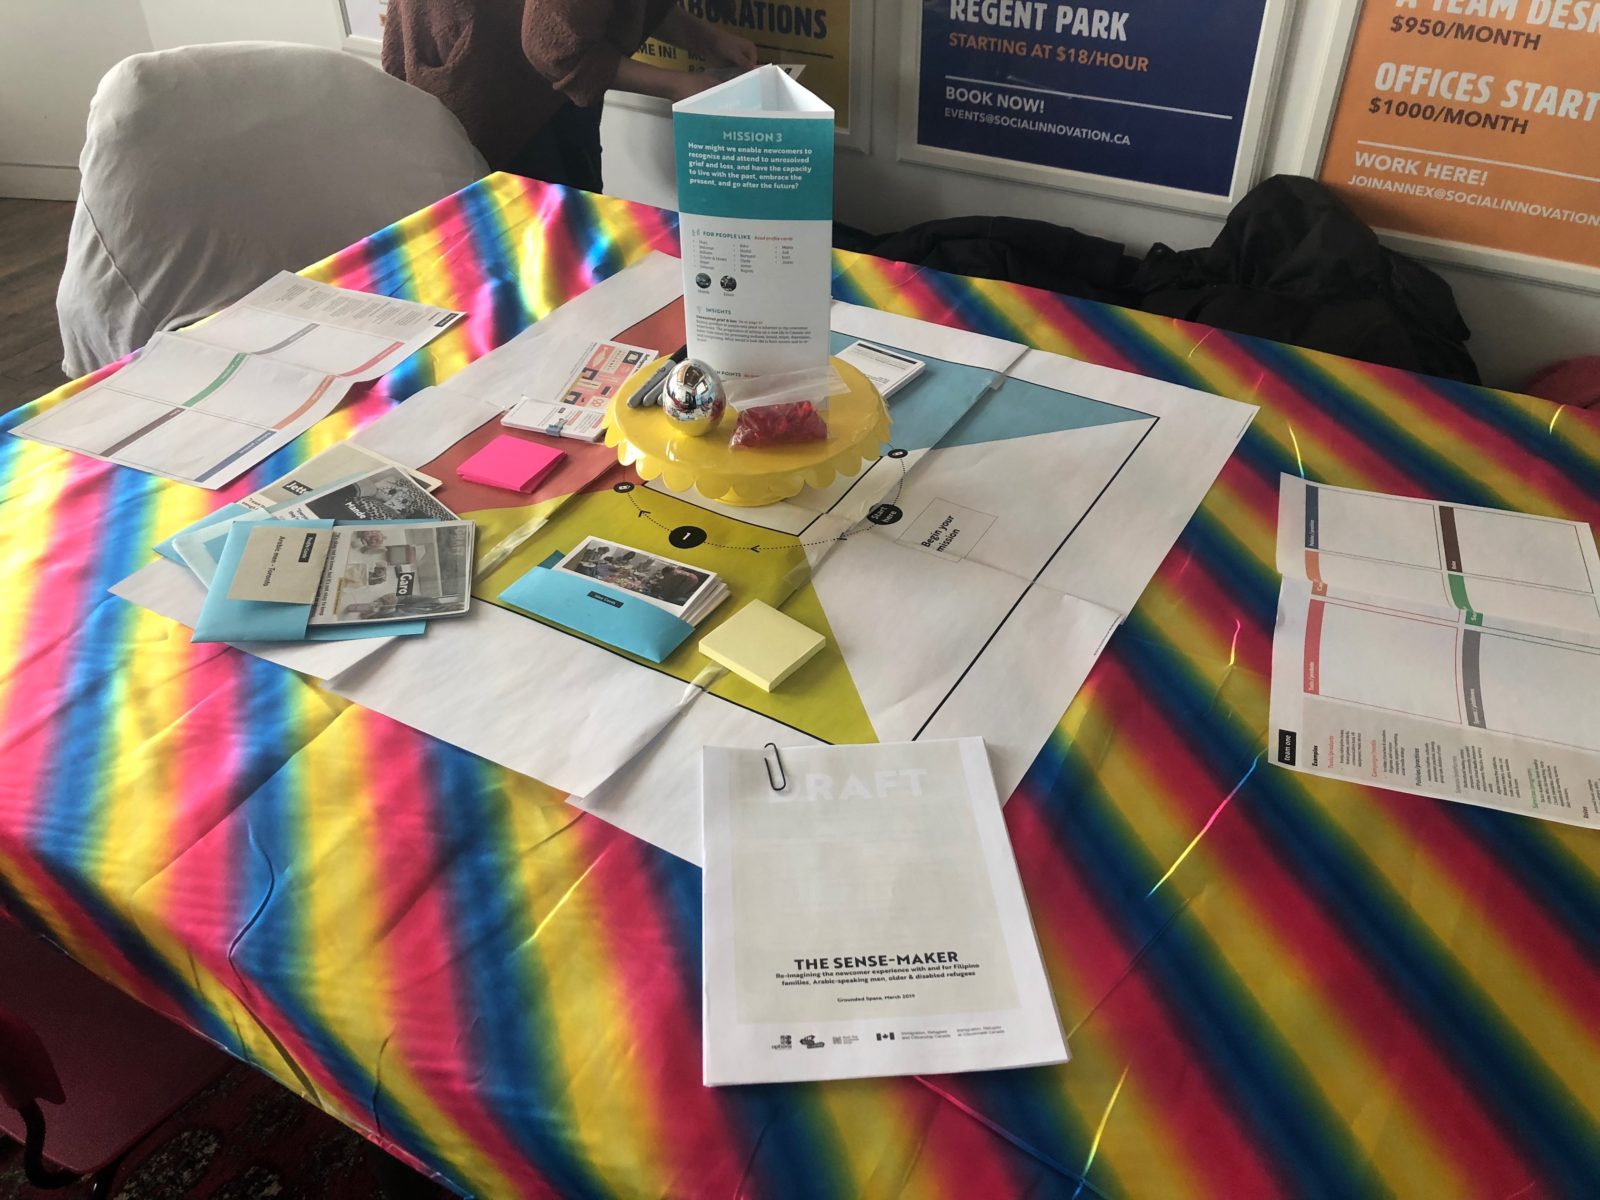
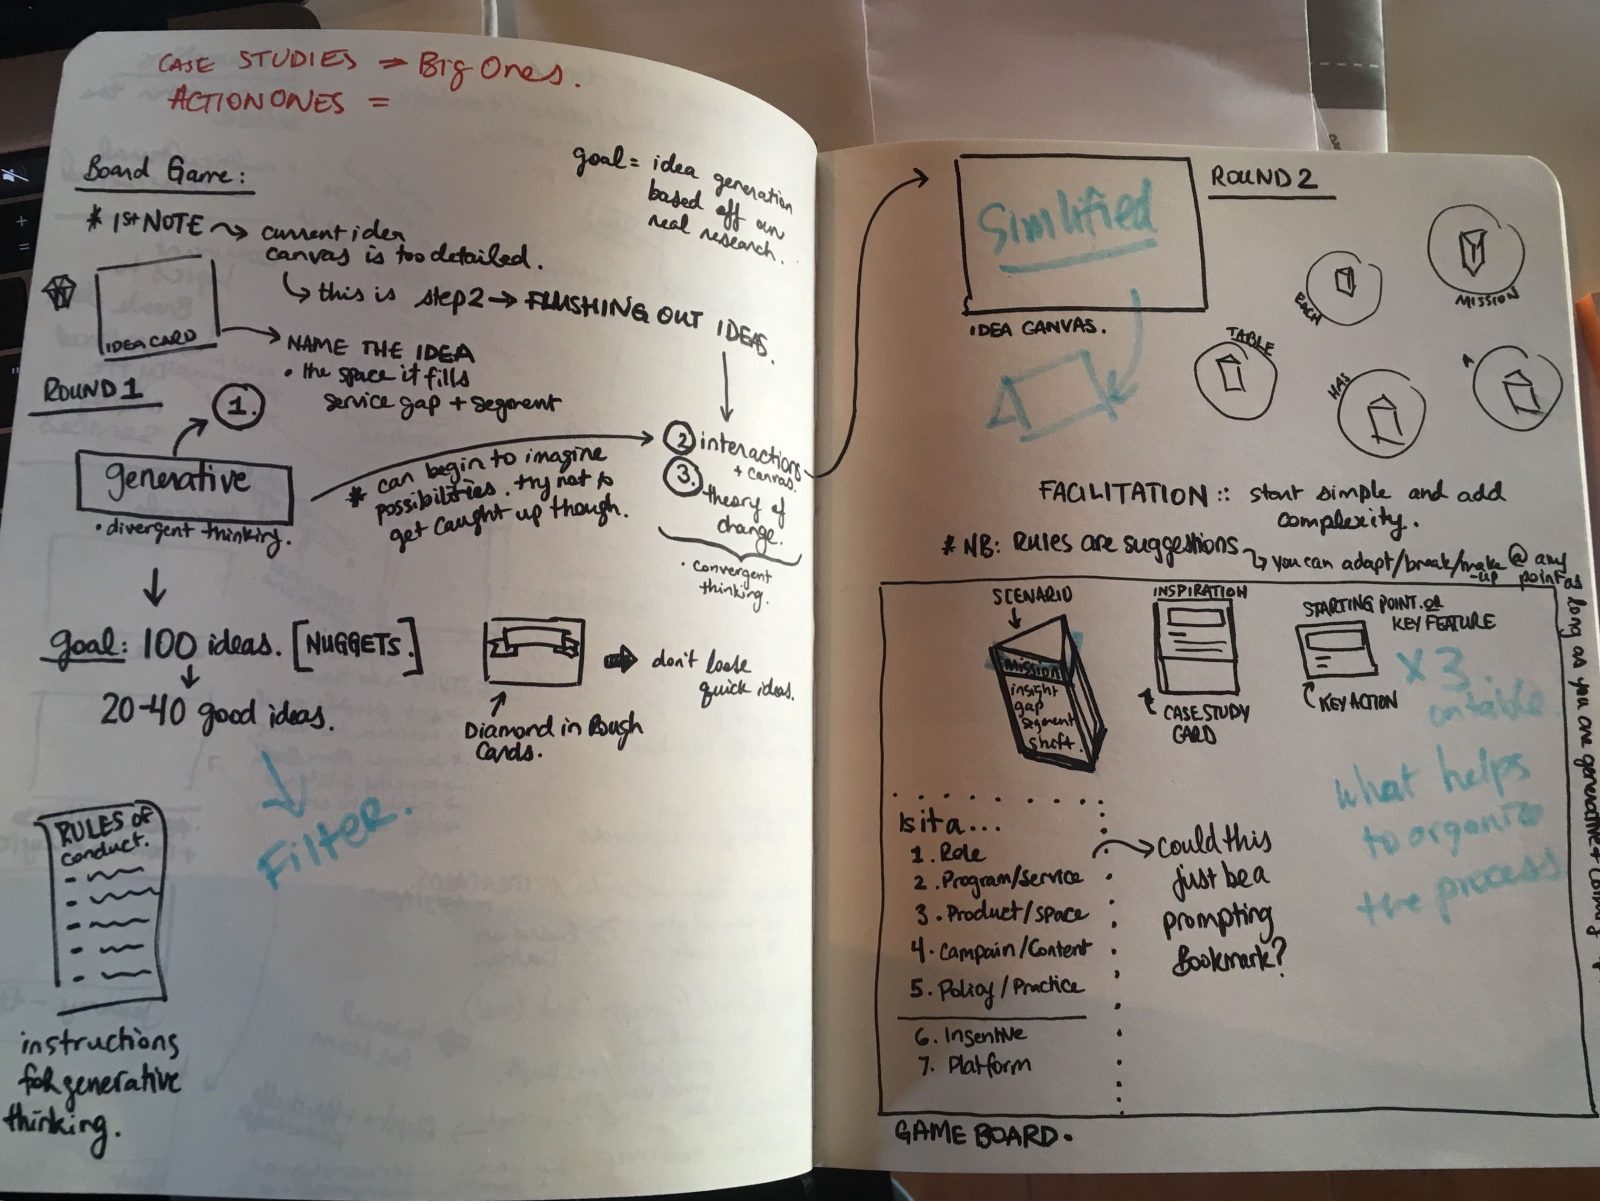
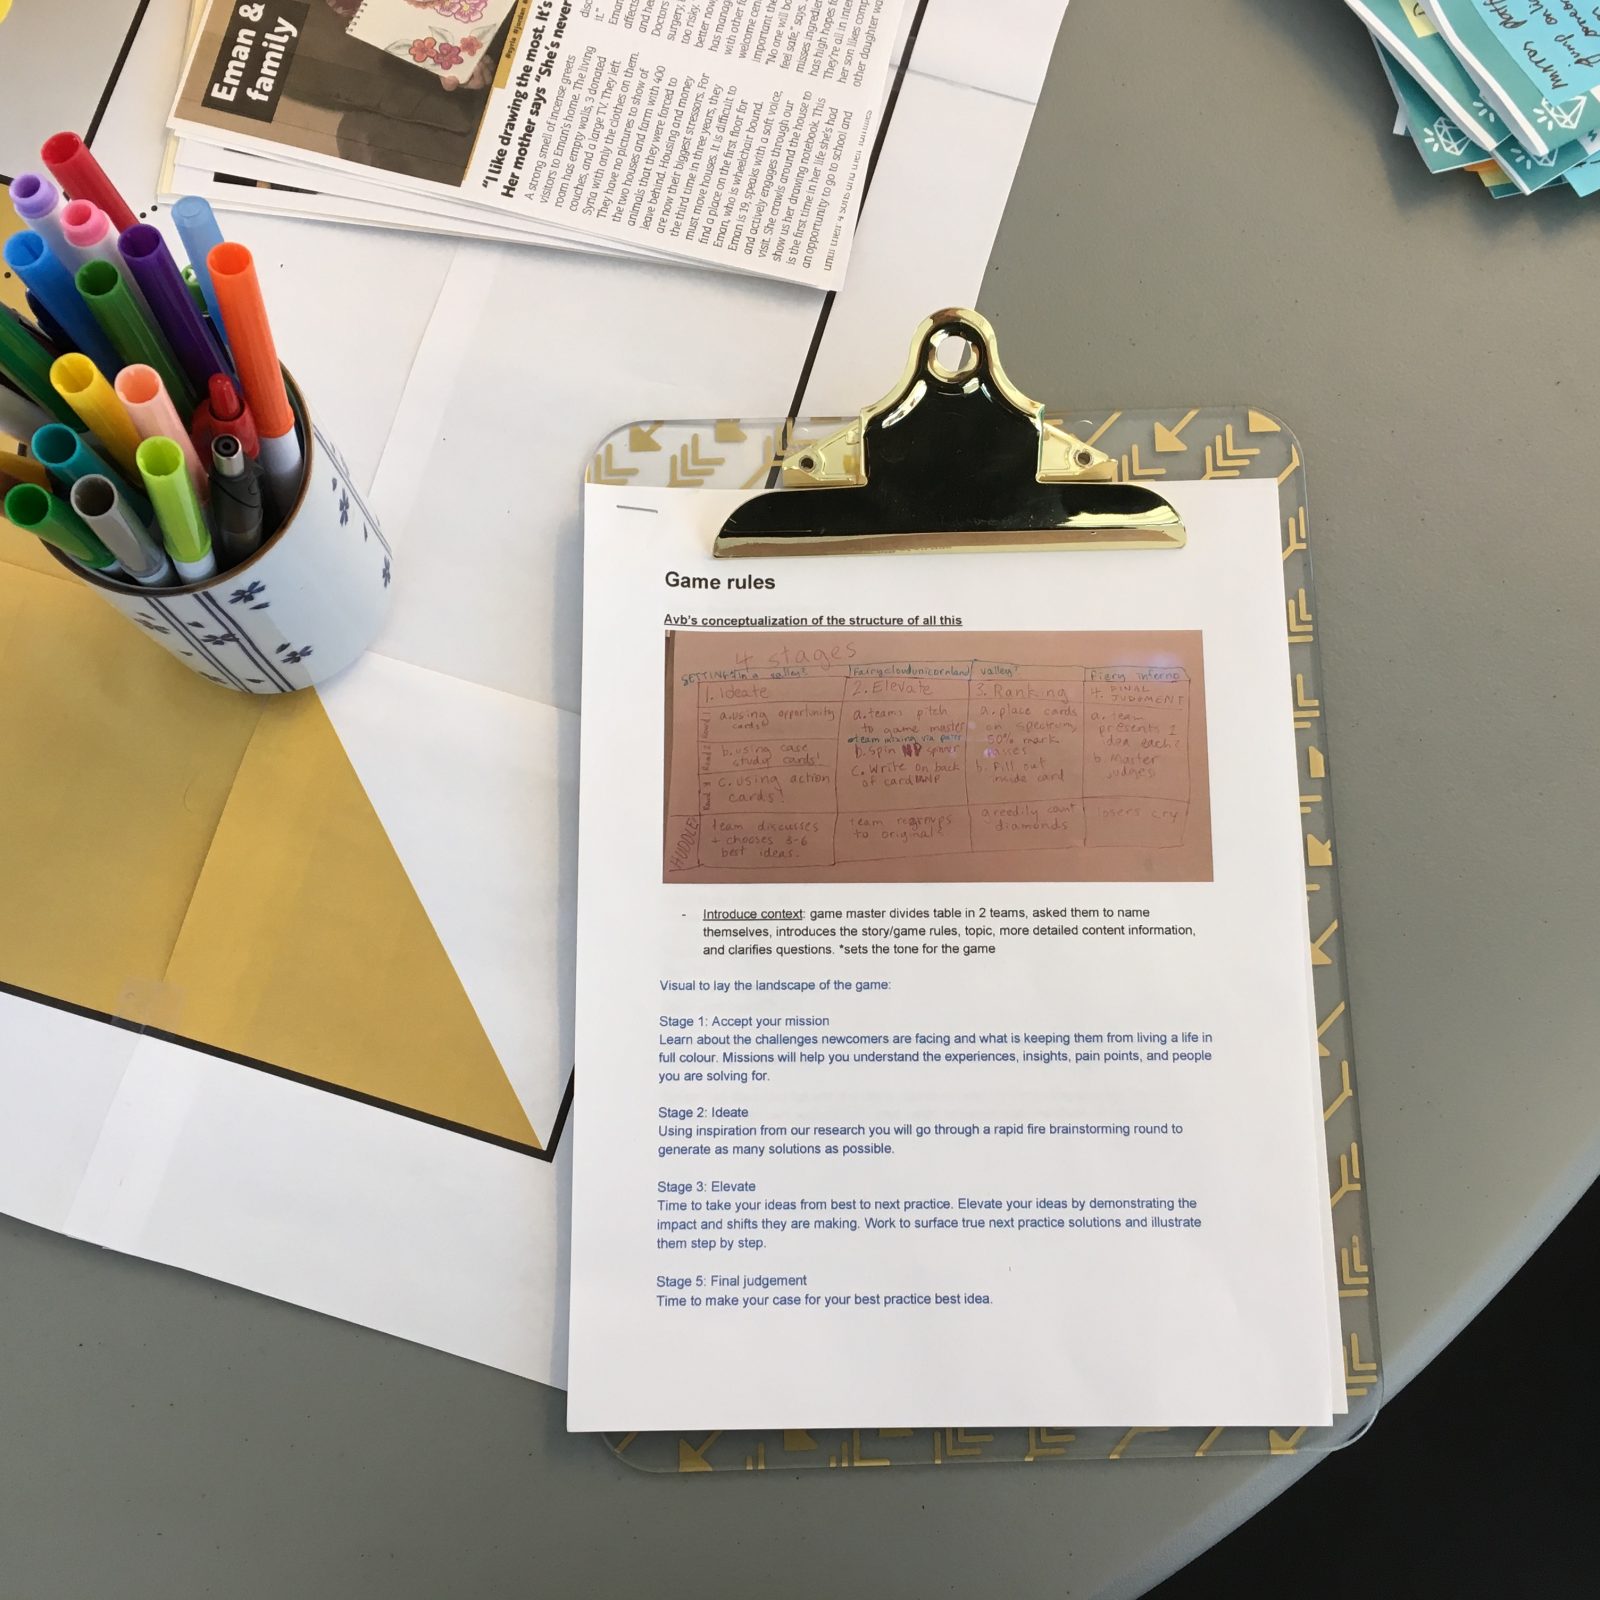
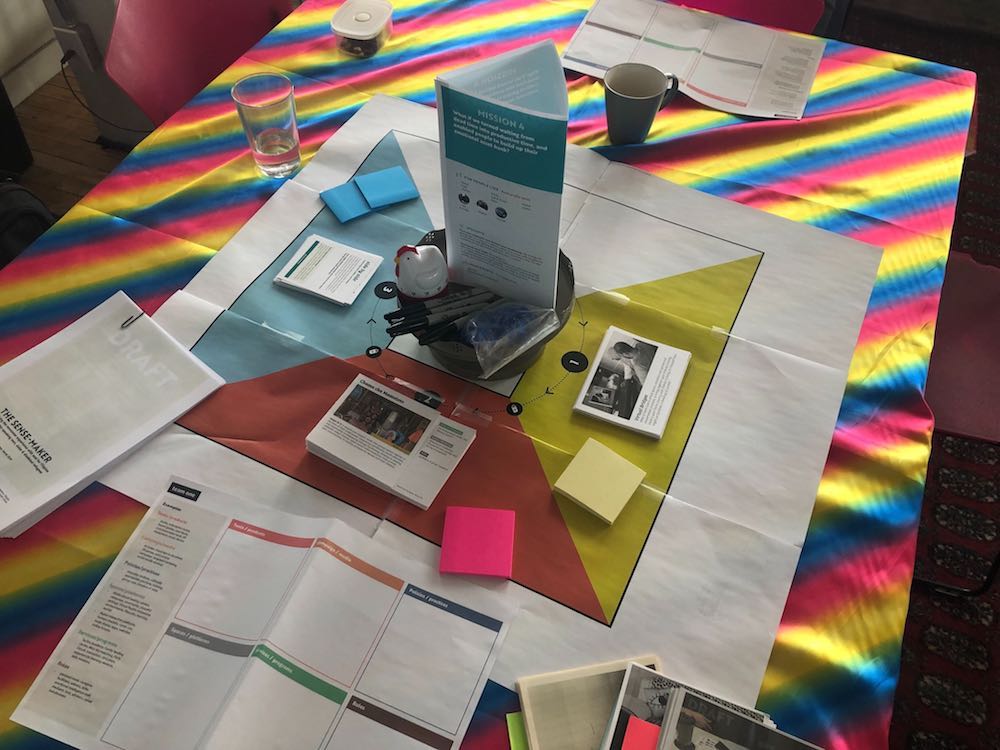
Stage 1: Accept your mission. We learned that because we had so much content that we needed time to set the scene and ground players in people’s stories. The missions related directly to who we had met and their emotional journeys. They are the pillar of the game and any ideas that come from playing it. We did three iterations to the missions: re-ordering the content to match the game flow, adding photos of people and linking insights to the Sense Maker, and adding space for participants to extract their own key concepts. There are 13 missions total, and our internal team will play them all.
We also realized that for external players, we needed facilitator so a Game Master role was added. The Sense Maker document is their trusty guide.
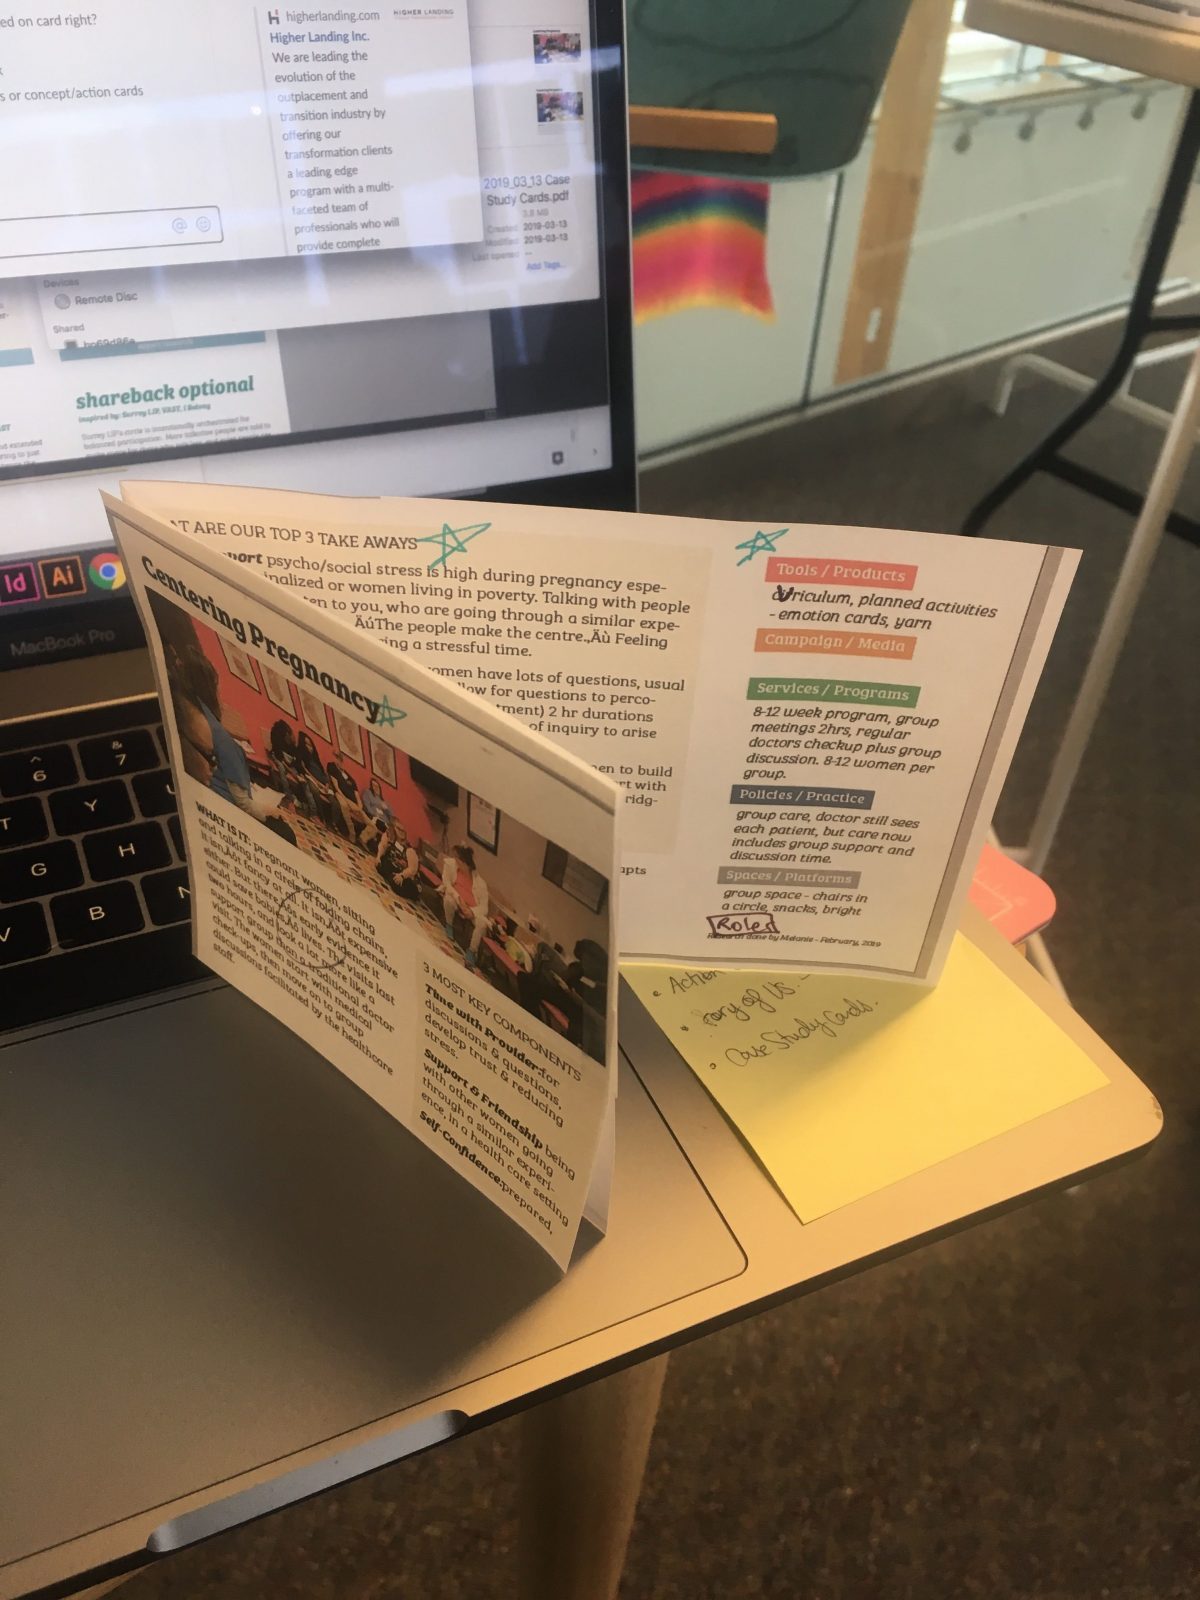
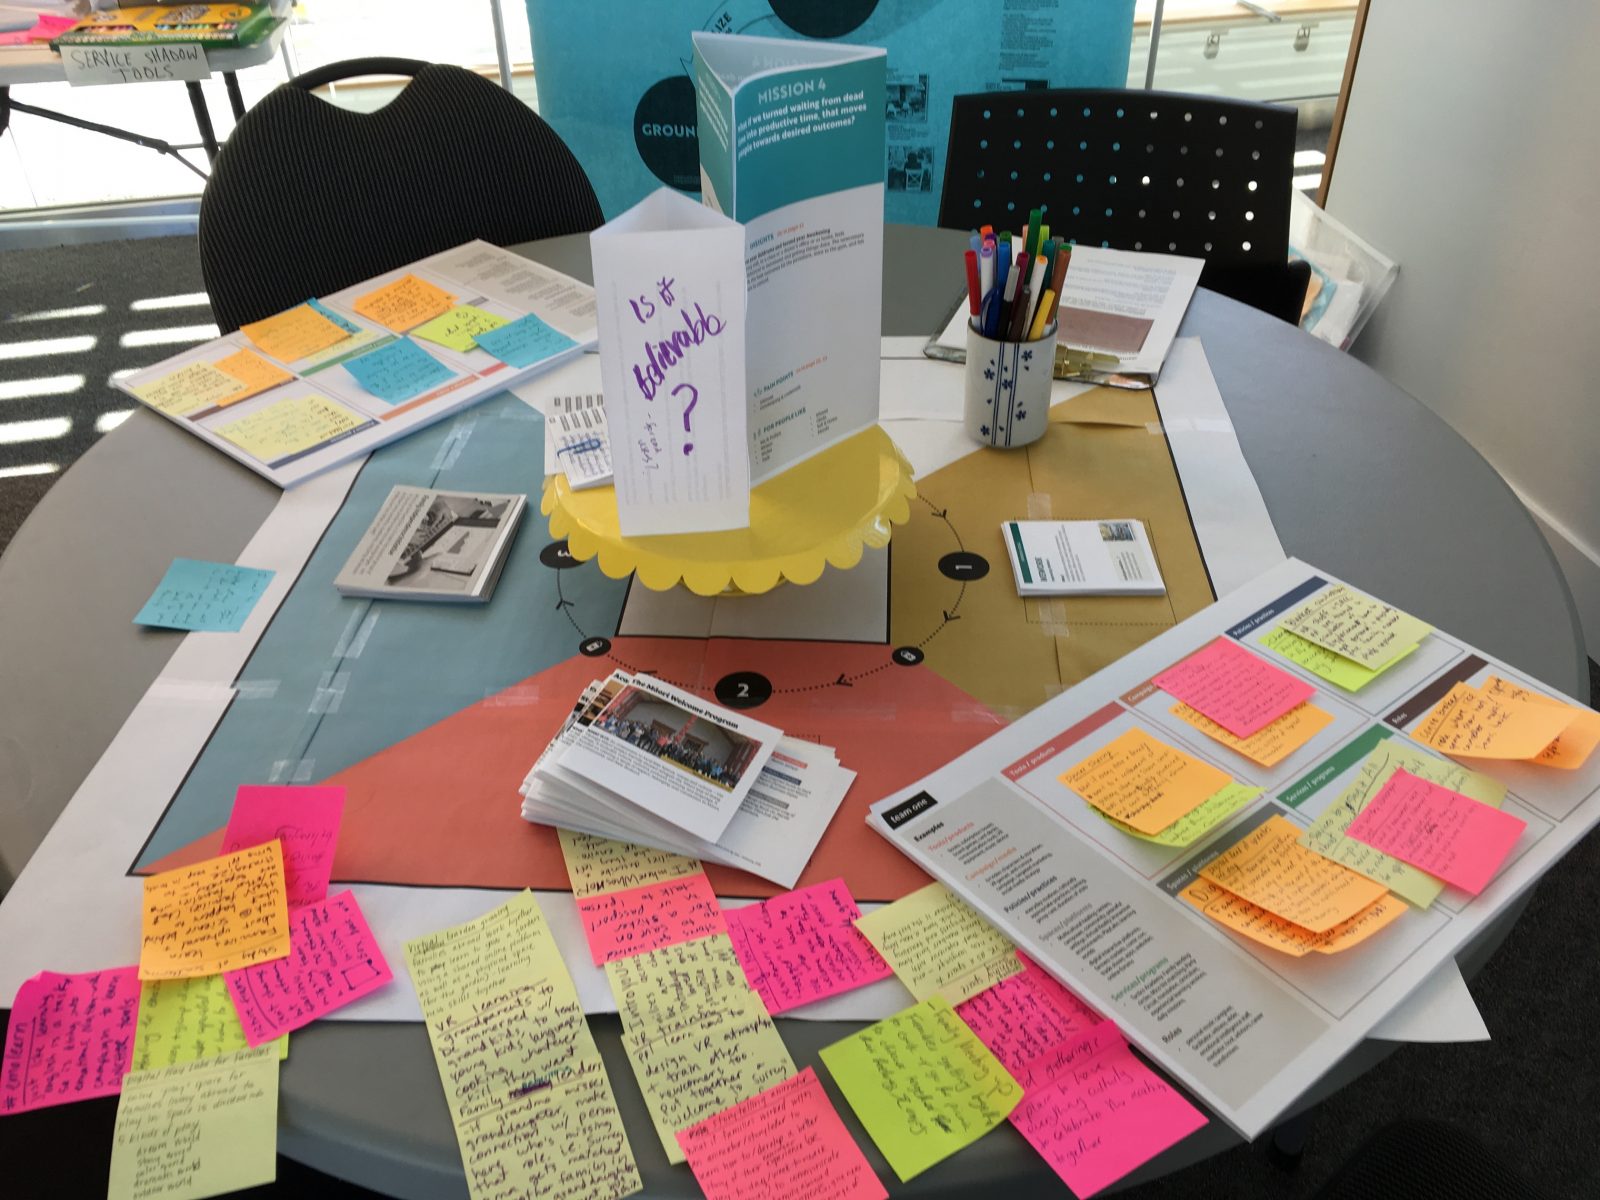
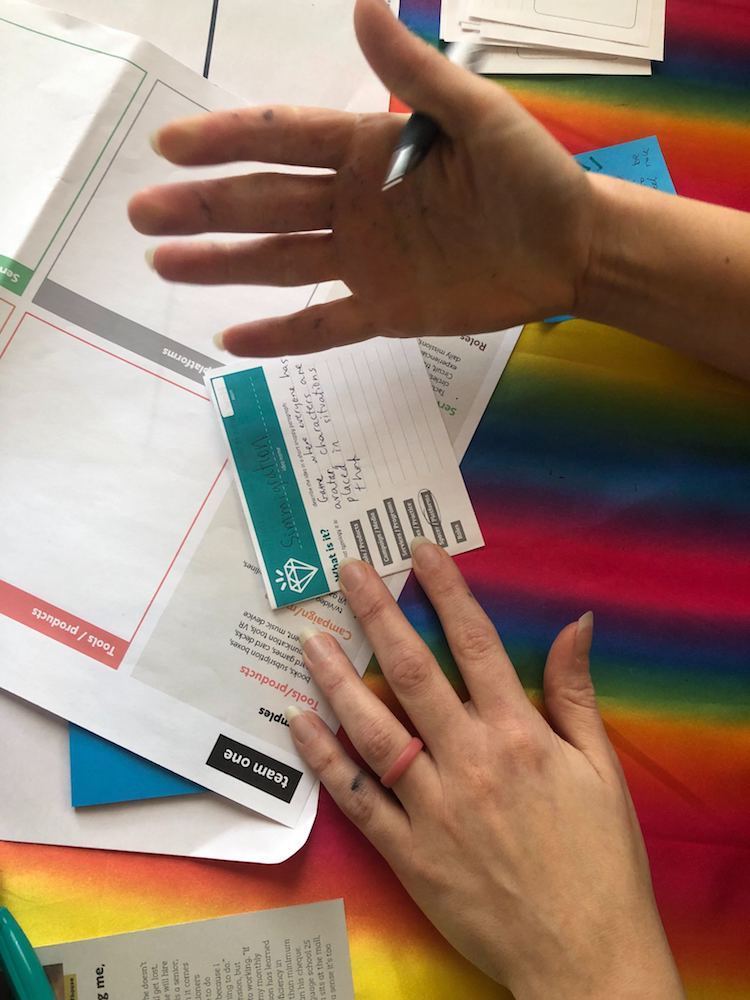
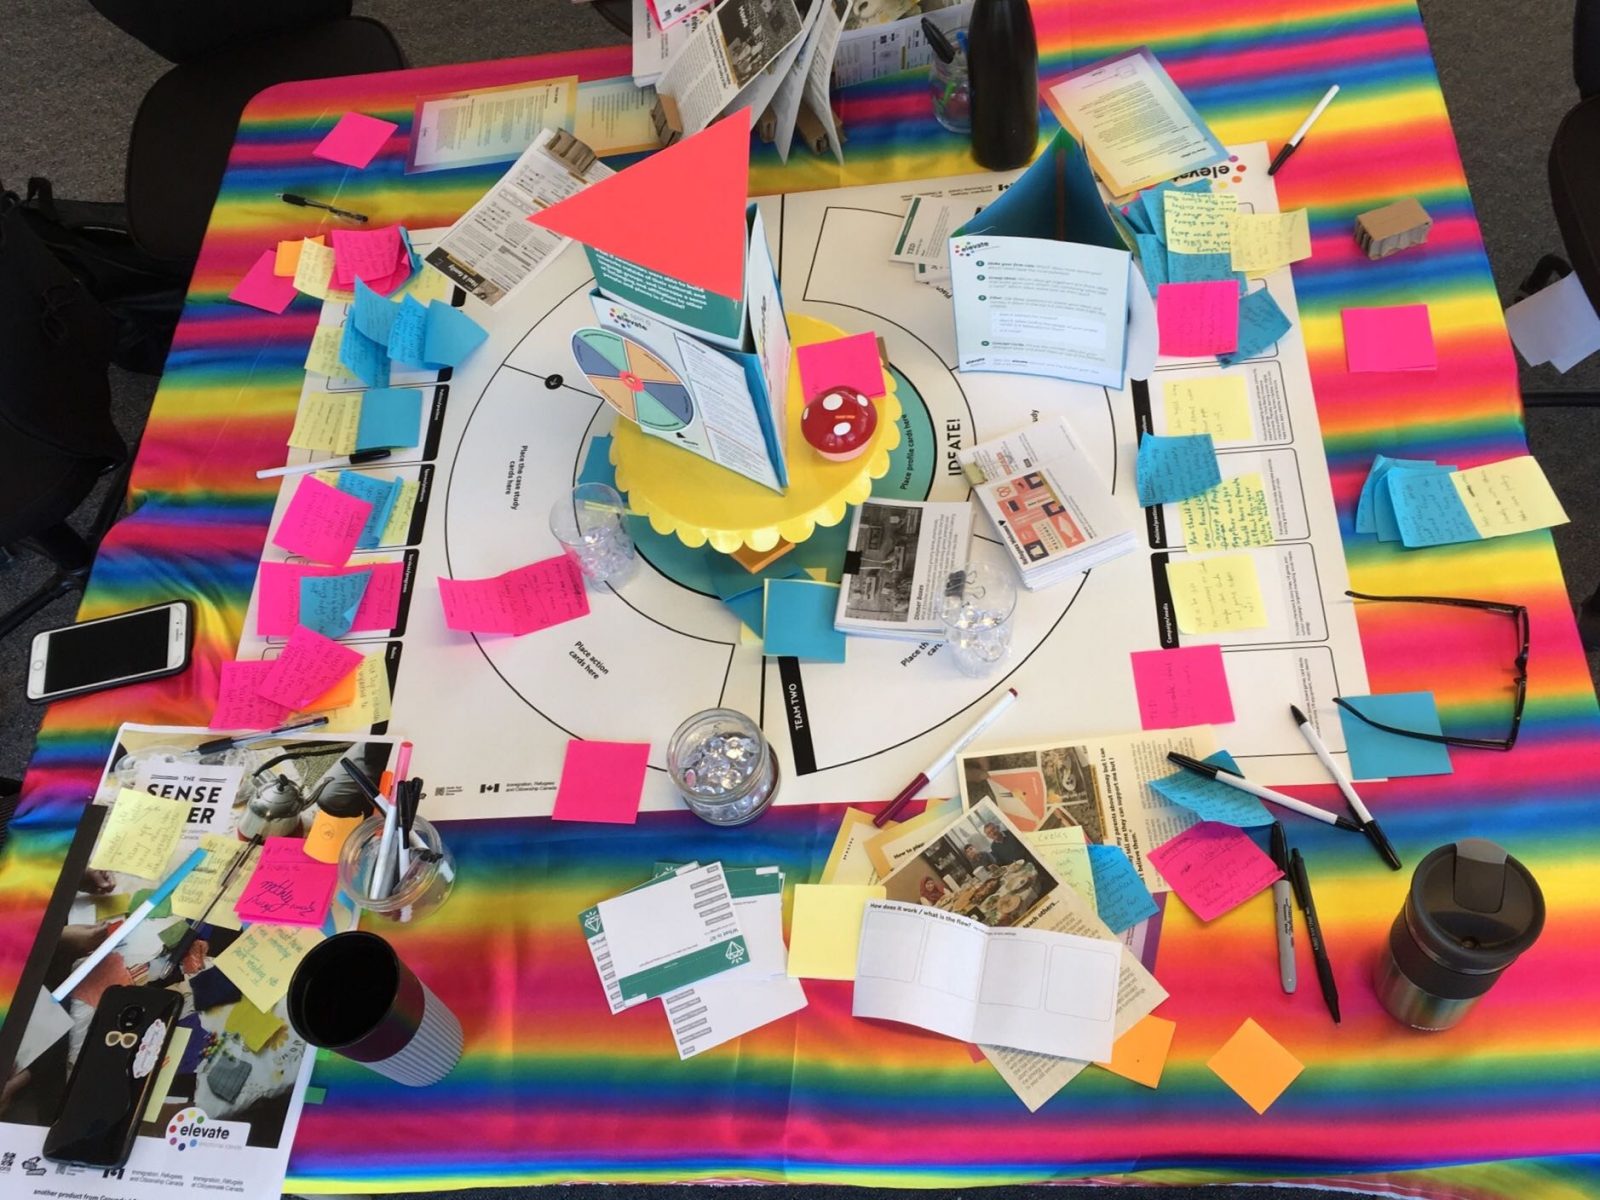
Stage 2: Ideate! This was the easiest part to play. We had distilled the research into three separate card decks. Each round of the game involves using one of these card decks to brainstorm new ideas that address the mission. Points were awarded for brainstorming an idea in one of each of the six idea typologies: spaces/platforms, tools/products, roles, services/programs, policies/practices, and campaigns.
Now, here’s why I love testing – happy accidents.
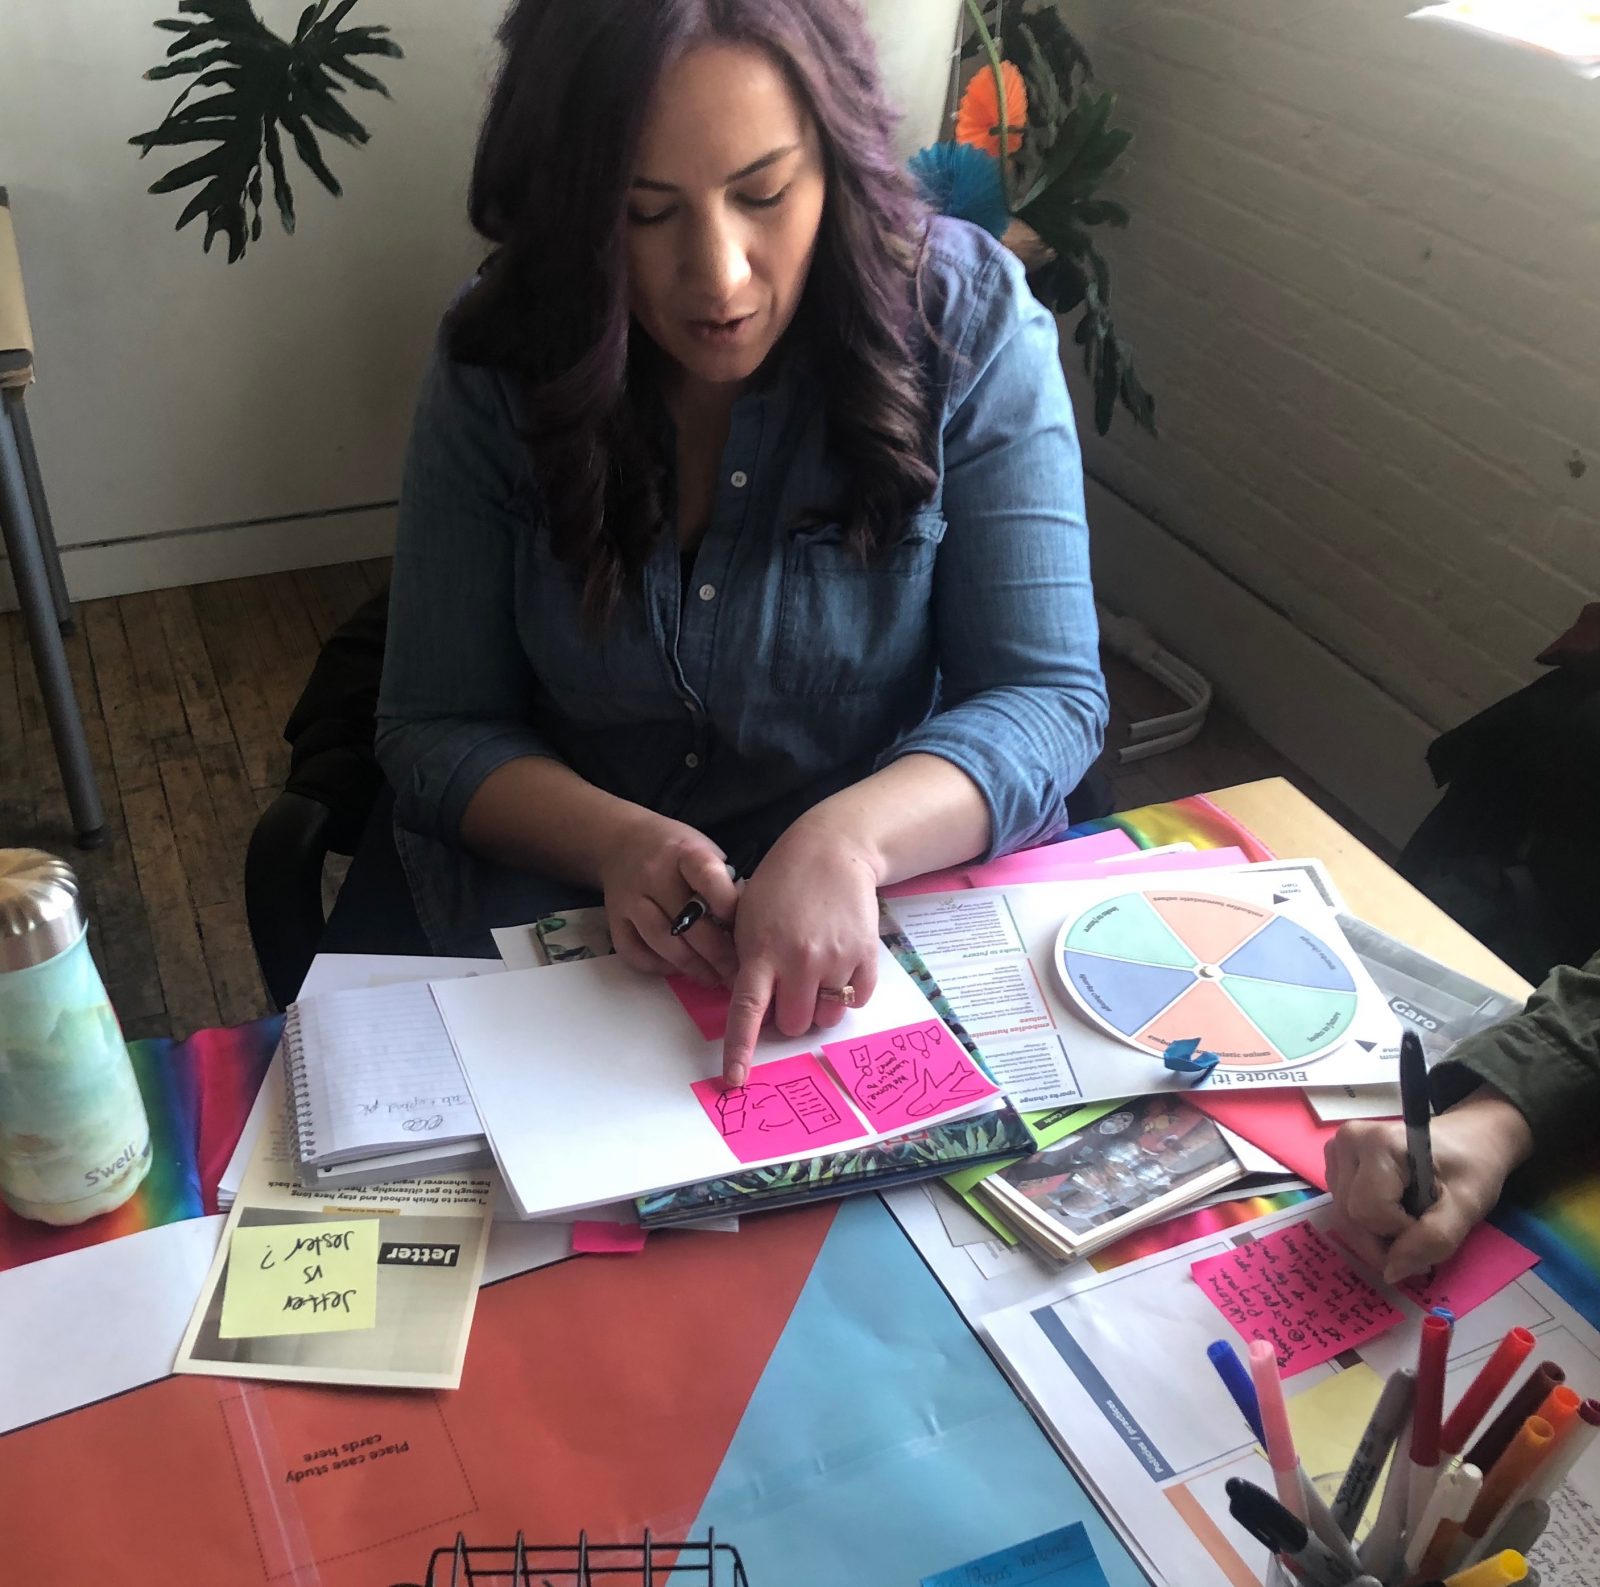
Initially at this stage we were supposed to fill out these little concept cards, but I forgot to print them off for one of the testing sessions. We used post-its instead, and used a different colour for each round. This was easier than the designed cards because they stuck together and stayed organized better. So we went with the mistake, and used the designed ones later on in the game for only the top ideas. Neat, right?
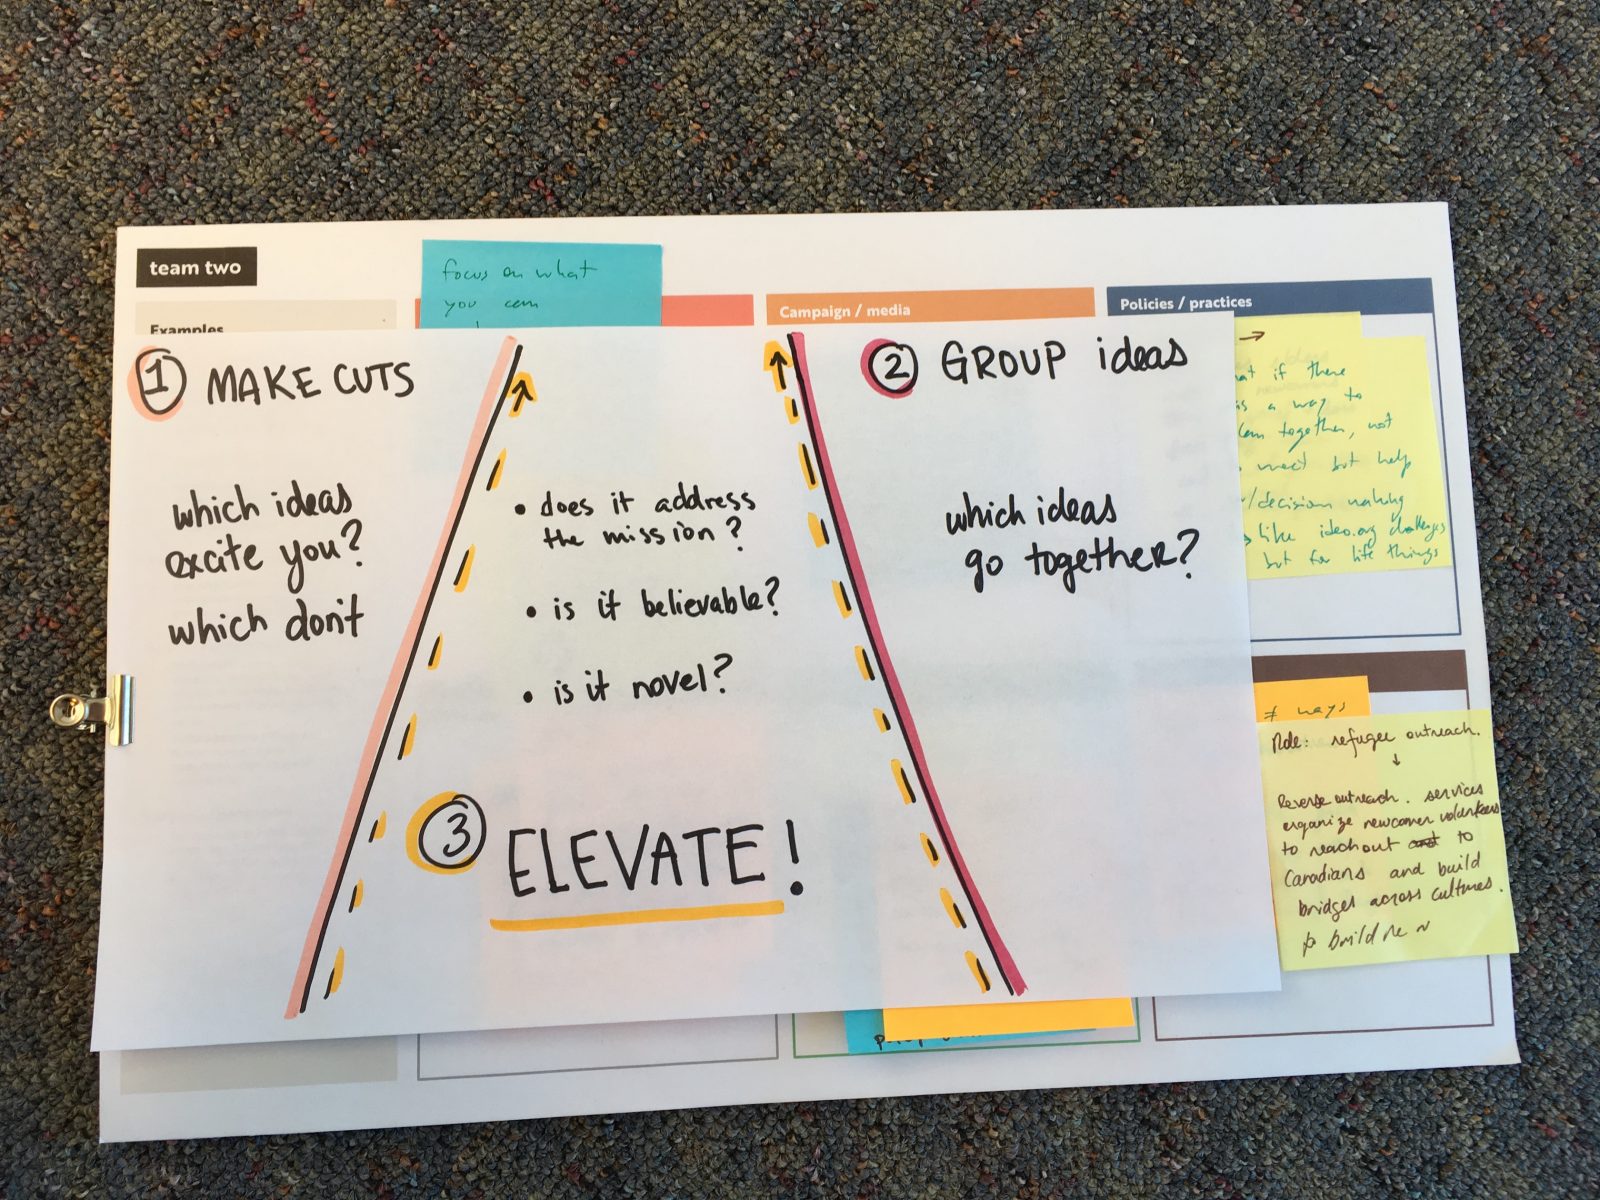
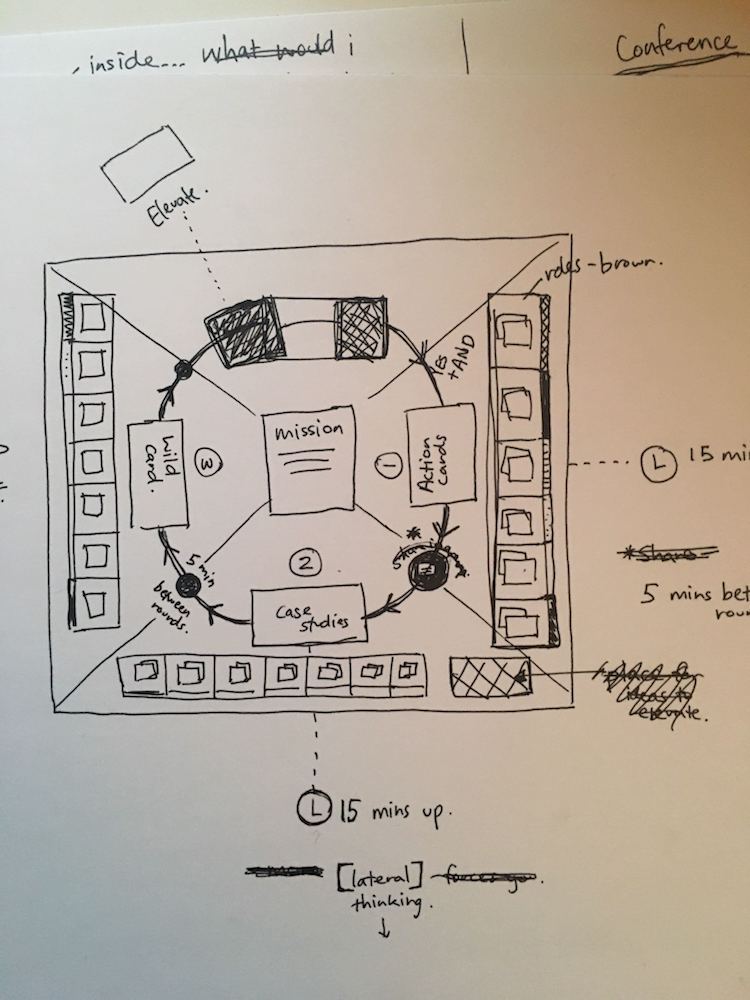
Stage 3: Elevate!! This was the crux of the game, and also the most confusing for us to figure out. We knew the goal: to take our best ideas from the ideate round and elevate them. The game mechanics of how to do so evaded us for a while, mmmm, until the final few days, in testing we whipped through the ideate stage, but all of us got stuck at the elevation stage. Here’s how we got through it.
First we needed to sort through all our ideas. In testing, each group had a different approach, but essentially they grouped similar ideas, cut the ones that resonated least, and shared the amalgamated versions. So we added this to the game instructions.
Then we needed a way to filter. We came up with three key questions to sort through and find the best ideas: does it address the mission? would our people use it? is it novel? The first prototype had each question written on a tri-fold piece of paper. The table was already too full, so the second one we tried as a piece of paper on the board for ideas. This was super low-fidelity, just sketched out with sharpie on legal sized paper. When we ditched the idea board (it became part of the game board) we were back to tri-folds again. This time though, it was made to slide over the Mission cards, as the central pillar of the game. One side became the elevation spinner, the other the filter. This final version was laid out in inDesign, printed and assembled.
Workin' out the board mat
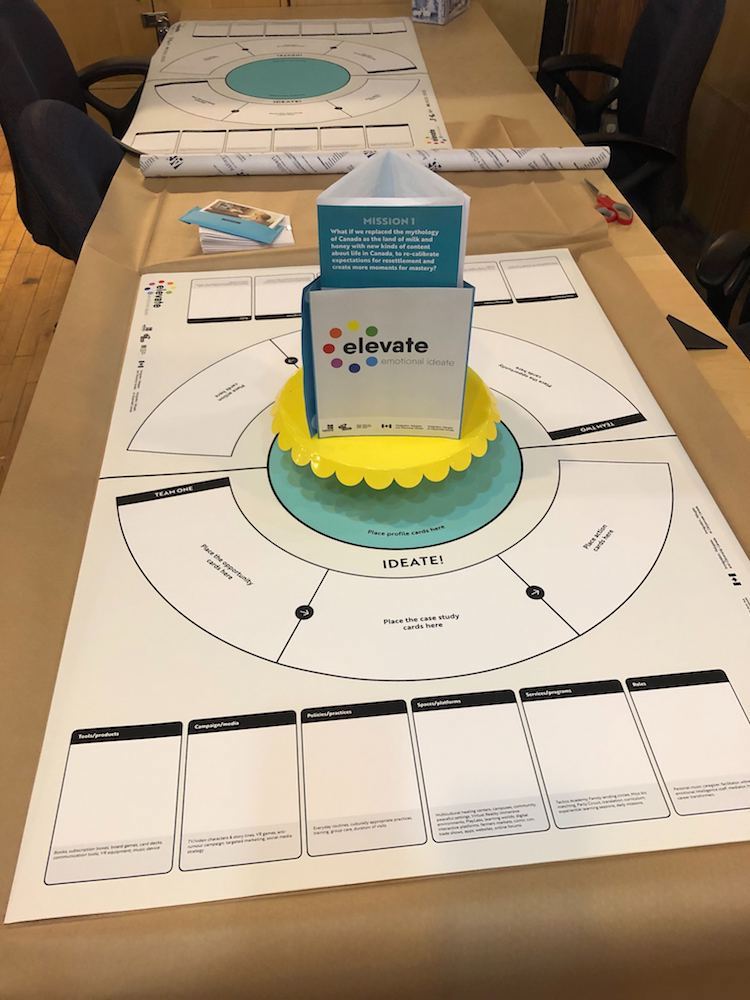

When we got the Elevate! game board back from the printers the game suddenly felt real. It was also the most costly component of the project, as we had it printed on canvas for portability and durability. Working with our smaller budget, we often print and produce in house, which is great for our dynamic process and quick turnarounds. So it was special to get something made that was beyond our capability to produce.
By this time, we were really happy with our final design. We had already produced and tested several versions, and made some adjustments along the way. A big change was merging the game board and the idea board into one, which organizes the post-its into six typologies. Our early tests were printed tiled on 11×17 tabloids, then cut and taped together, and the idea board was printed out and pinned to a piece of foamcore. By prototyping we were able to simplify, get the size right, the colours dialled in, and organized the mat to match the elements and flow of our game. In this case, prototyping meant that we produced something that really matched our intentions, and we knew this because we had tested it first.
One more design tip: always get to know the printers! It will save you time and money, especially if you are doing something unconventional. While in Toronto, I made a special trip in to see them. I got to see and touch the canvas, and was given a swatch book for future projects. Getting to know the people who work there made our communication stronger, and talking to the person who was doing the print job saved us time and money — he gave me a tip about changing the size by two inches that worked better as a print format and saved us some troubleshooting down the line. Make time for printing; it is a distinct step in the process.
Now if only we could do something about the mat that came back from the conference with a coffee stain!
Oh spinner, that was fun!
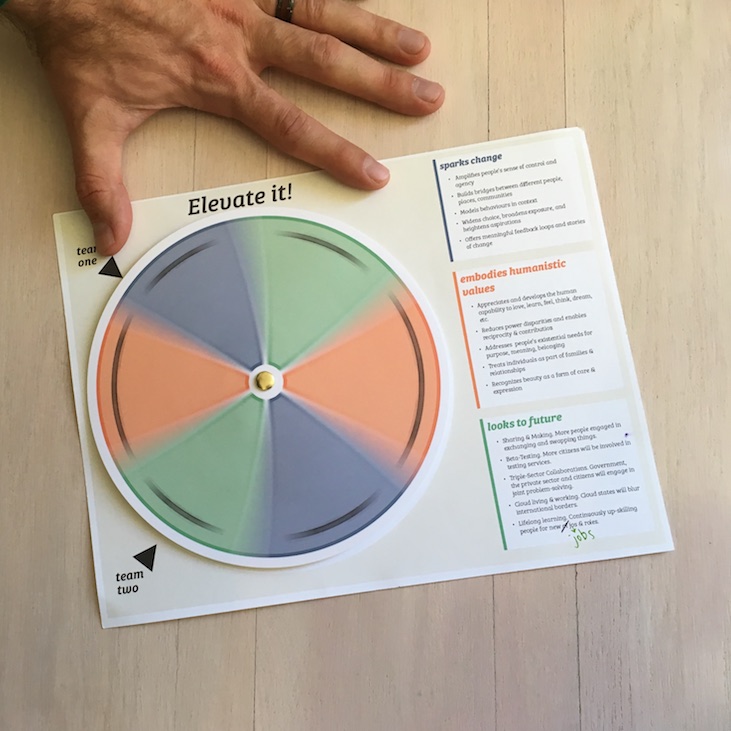
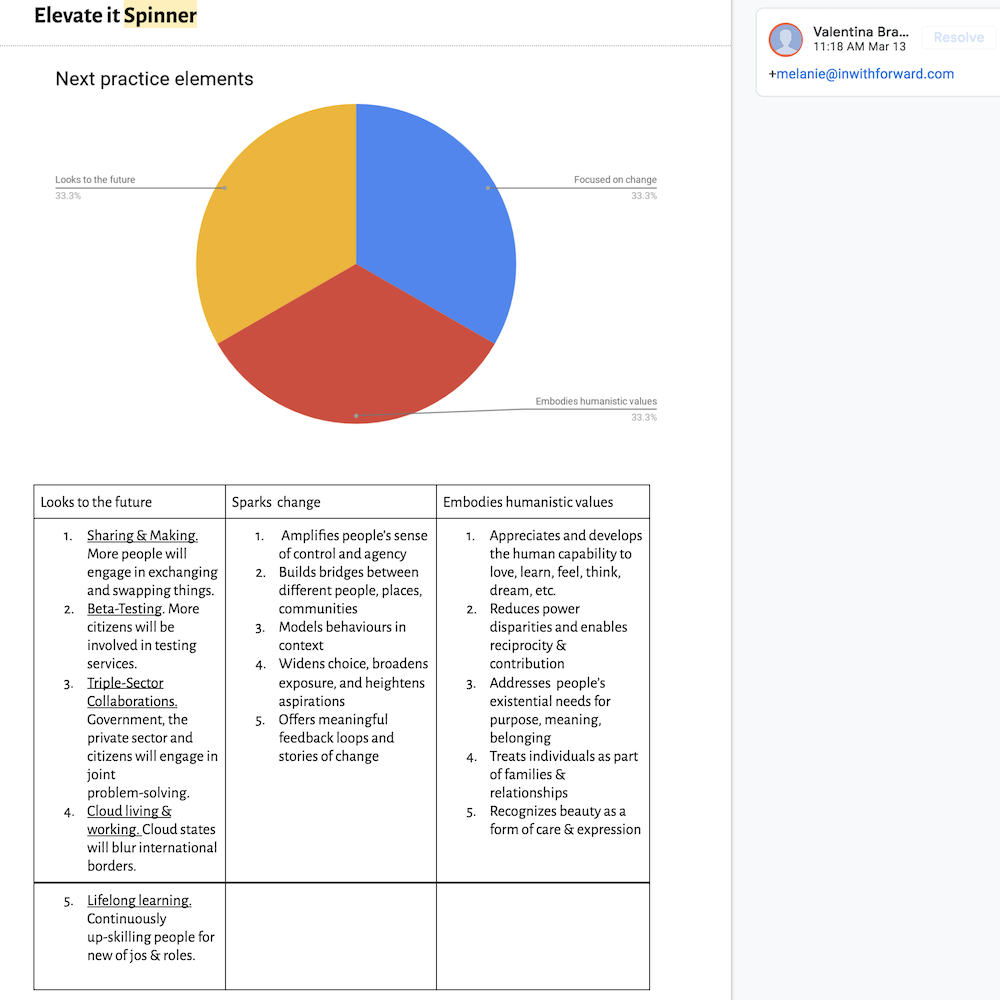
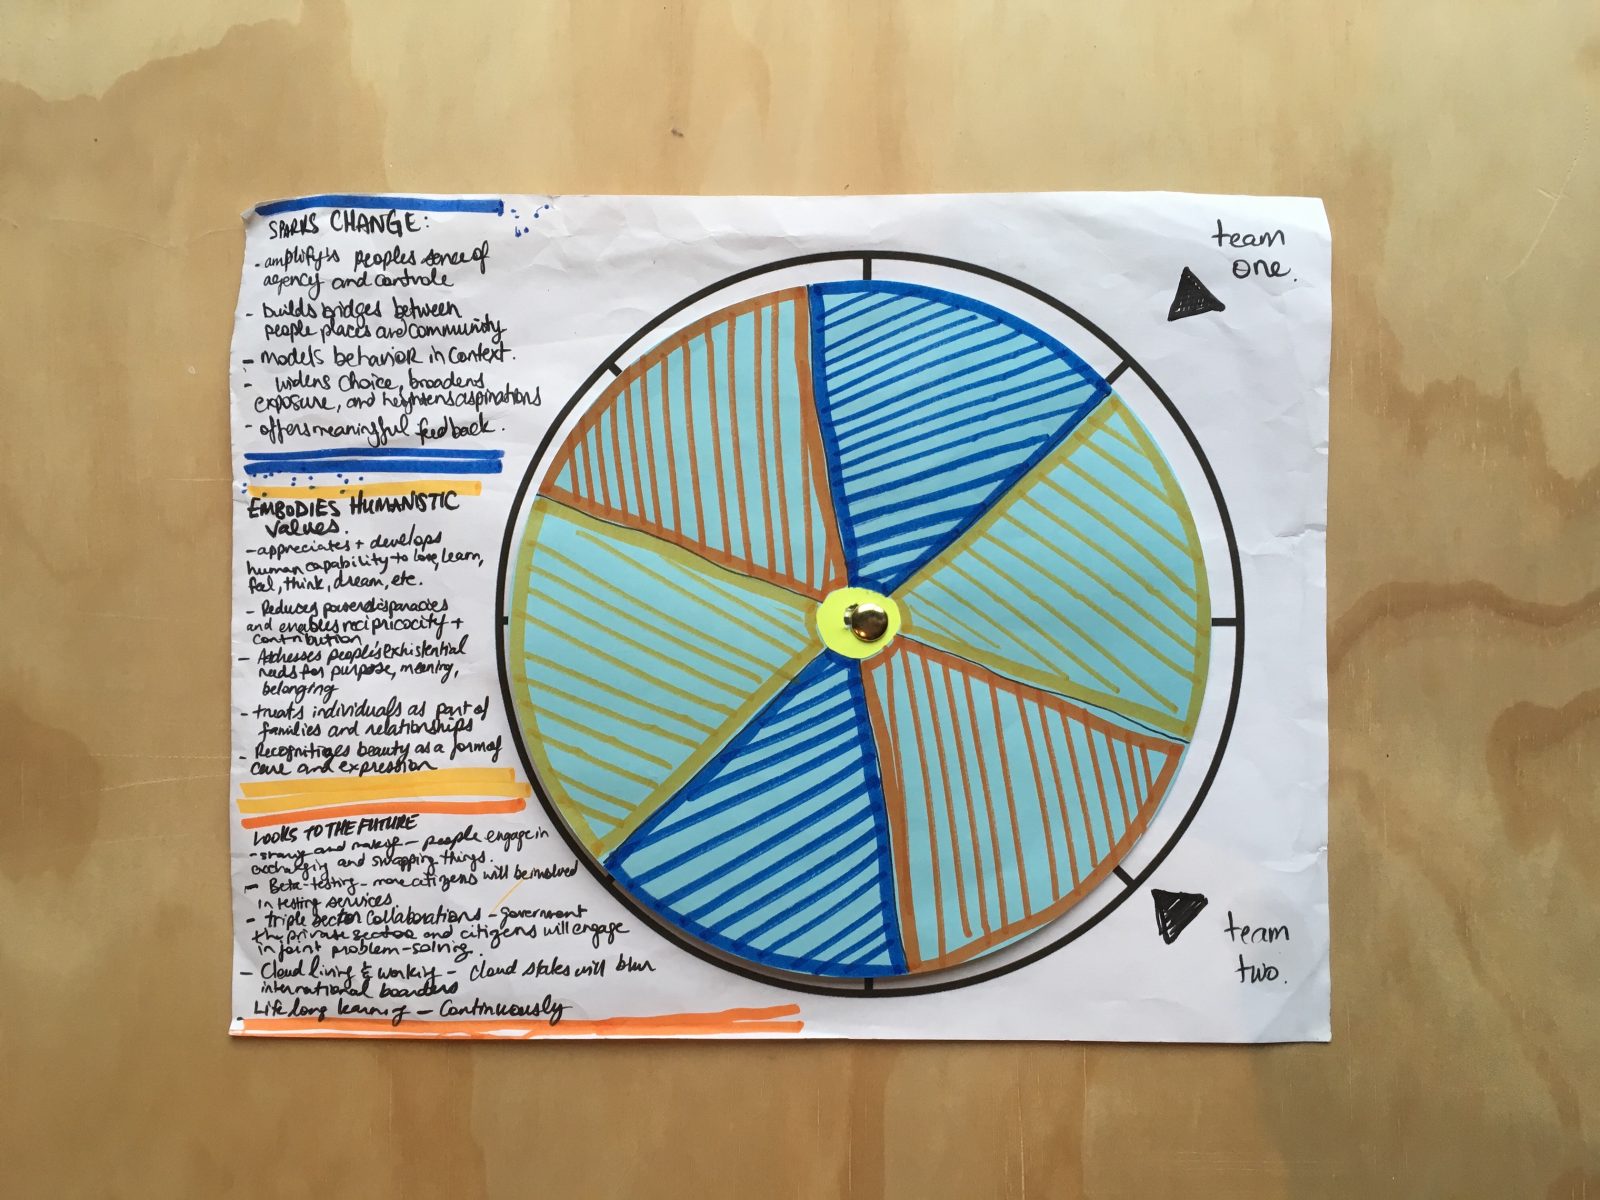
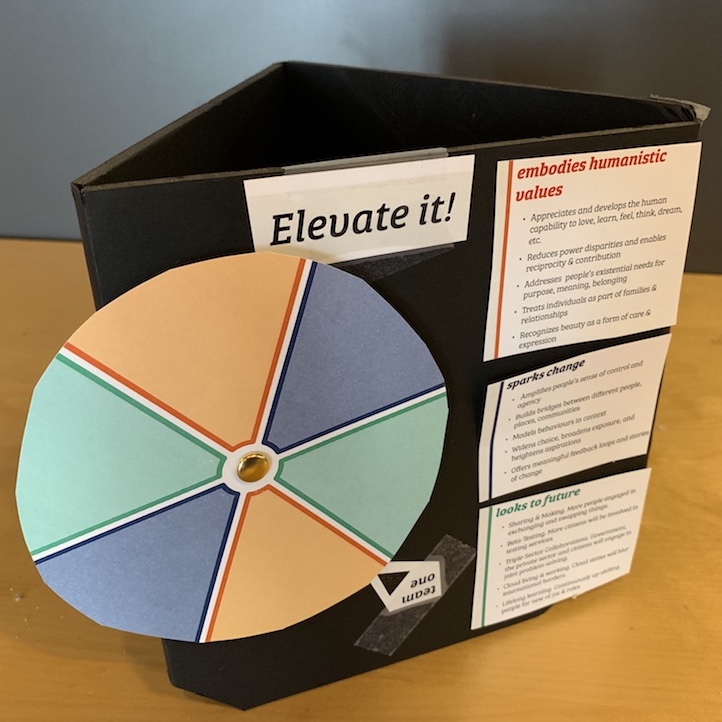
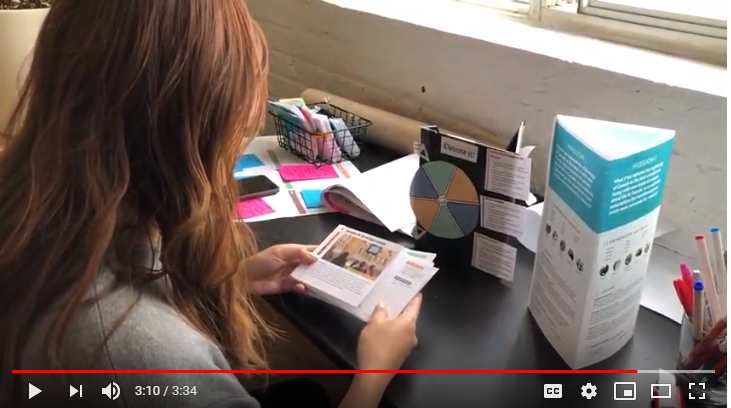
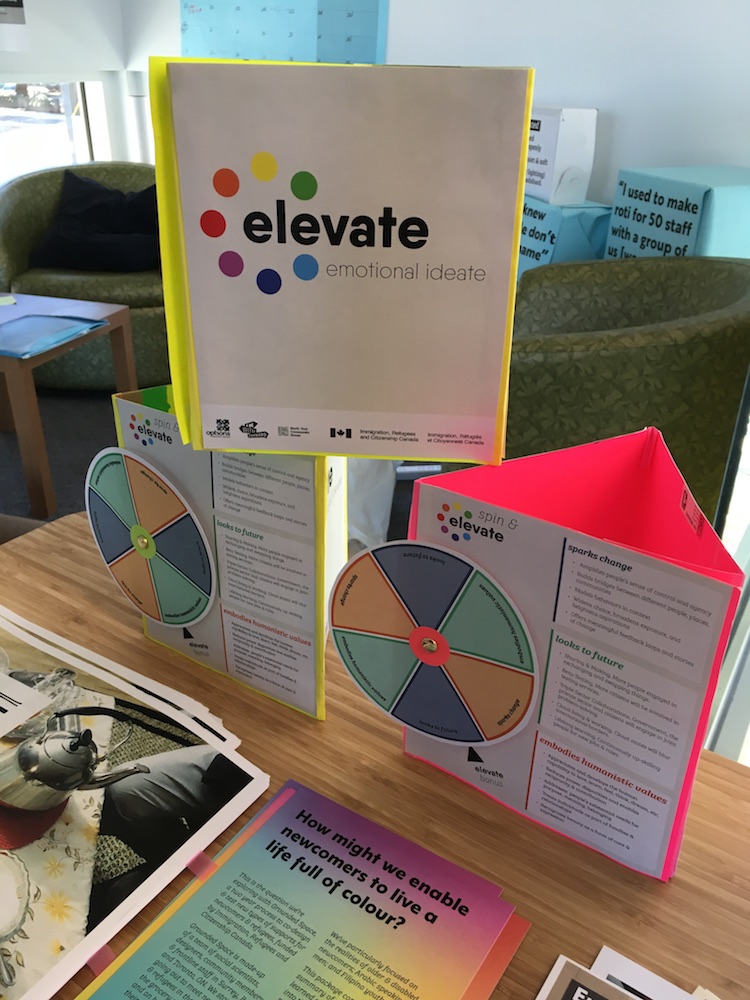
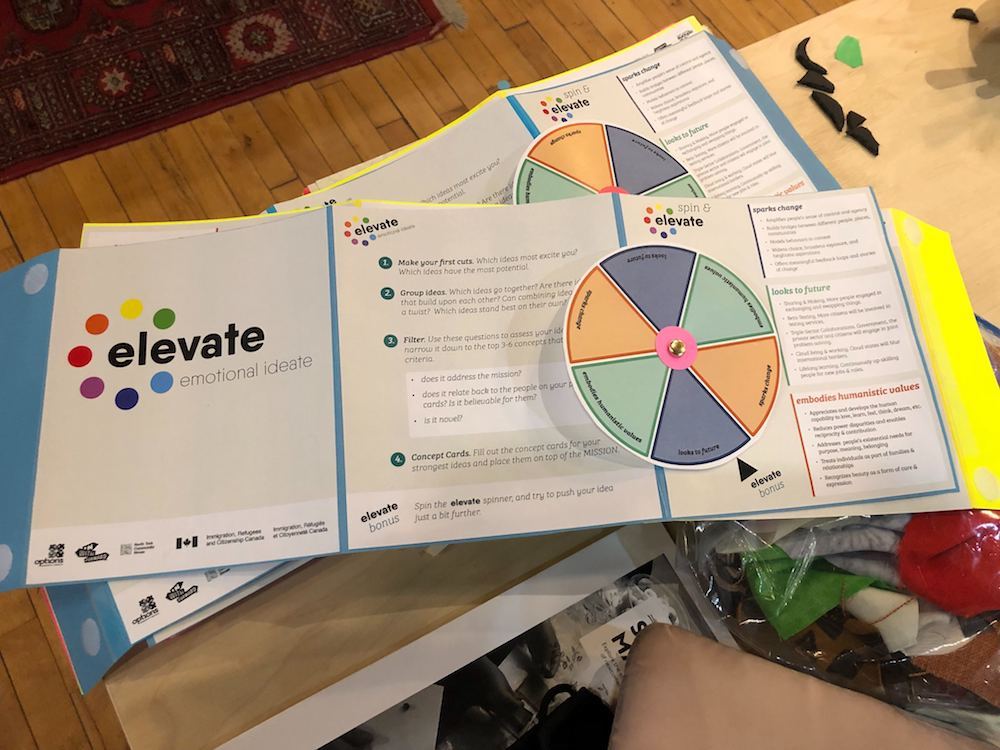

It seemed like a good idea to add a spinner to the elevate round, but initially it felt forced and was content heavy. The decision to colour code into three categories simplified it from 15 actions into: sparks change, looks to future, and embodies human values.
The other big change was going from a flat element taking up space on the table to 3D. The spinner became one side of the Elevation triangle, which gets brought out in the second half of the game. To try this out, prototype it, I took the first version, cut it down, and quickly taped it to some foam core, we tested a few sizes, landing on one that easily slid over the mission. This reinforced the goal of the elevate round to take our best ideas and take them one step further while staying true to the mission.
Bonus: now the wheel hangs over the edge making it easier to spin!
The final details – we were taking the game across the country, Toronto to Halifax to Vancouver – so I added some velcro tabs to allow for flat packing, and most importantly the spinners had to spin, each was tested for spinability before sending off!!!
There’s one more secret from behind the scenes, the final versions were done on bristol board, and on the last day of making all the folds began to rip. Oh no! So I spent my last hours reinforcing all the seams with linen tape, glue and paper strips. So the next iteration will take production and durability into account. I have a few ideas!

Melanie Camman
With a background in Industrial Design, Melanie brings experience in co-creation, …